Why Knowing How to Check Your Thermostat Before Calling for Repair Can Save You Time and Money
Knowing how to check your thermostat before calling for repair could save you from an unnecessary service visit — and in many cases, the fix takes just a few minutes. About 25% of furnace repair calls turn out to be thermostat-related issues, many of which homeowners can resolve on their own.
Here’s a quick checklist to verify your thermostat before picking up the phone:
- Check the power — Replace batteries and confirm the circuit breaker hasn’t tripped.
- Verify the settings — Make sure the mode is set to Heat or Cool (not Off), and that the target temperature is at least 5°F different from the current room temperature.
- Check the fan setting — Set the fan to Auto, not On.
- Test the accuracy — Place a separate thermometer nearby for 15 minutes and compare the readings.
- Clean the unit — Gently remove dust from sensors and internal components with a soft brush.
- Inspect the wiring — After turning off power at the breaker, look for loose, corroded, or damaged wires.
- Reset the thermostat — Remove batteries for 30 seconds or use the pinhole reset button to reboot.
If your HVAC system still isn’t responding after these steps, it may be time to call a professional. But for many Orange County homeowners, one of these simple checks is all it takes.

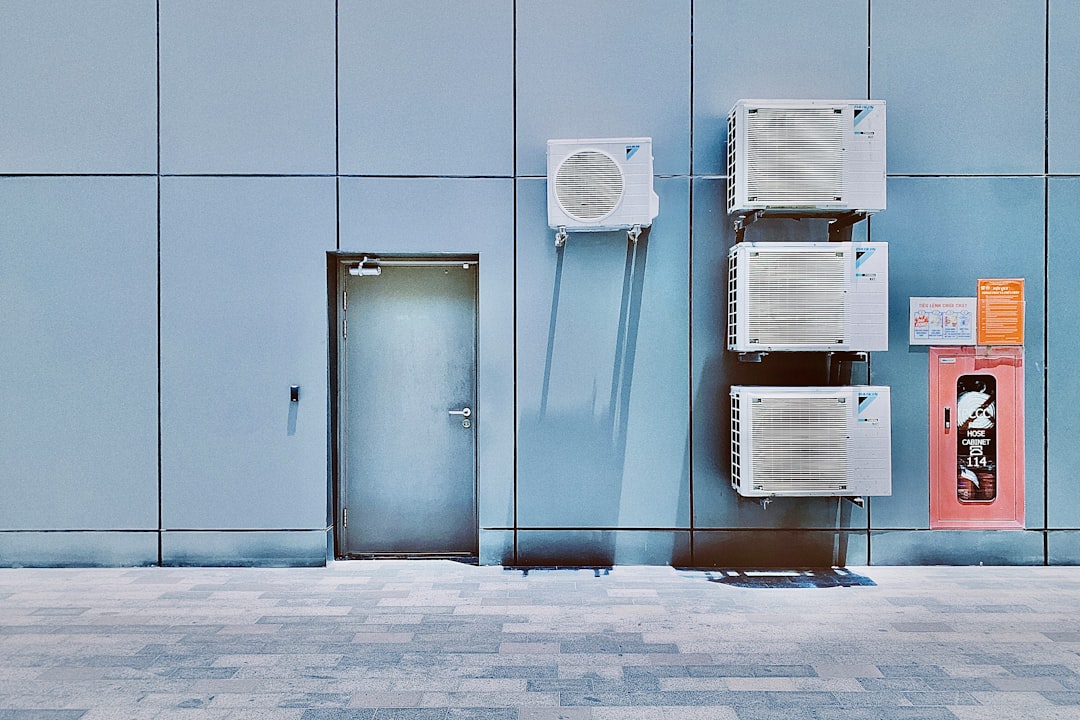
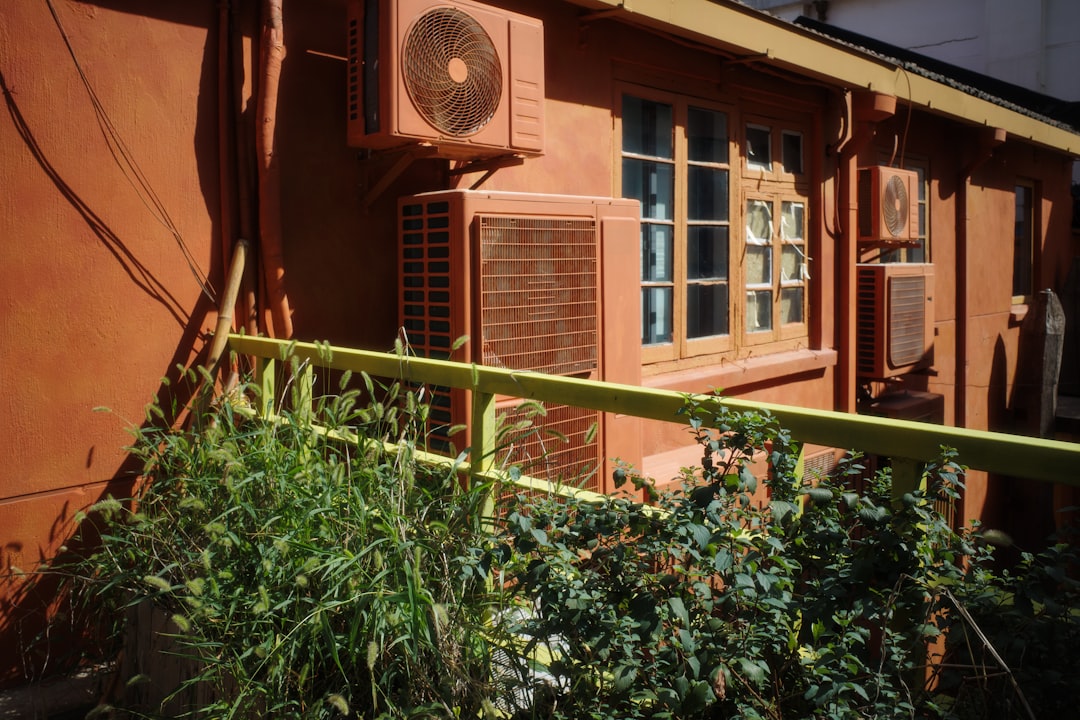
To understand how your thermostat integrates with the rest of your home comfort setup, it helps to know What is HVAC? and how it functions as the central command system for your heating and cooling equipment.
Common Signs Your Thermostat is Malfunctioning
Your thermostat is the brain of your entire heating and cooling system. When it starts to fail, it can cause symptoms that look like a catastrophic equipment breakdown. Recognizing these signs early can save you from unnecessary panic.
- A Blank or Flickering Screen: If your digital or smart thermostat has a dark or blinking display, it cannot send commands to your heater or air conditioner.
- Short Cycling: This occurs when your heating or cooling system turns on and off rapidly in short bursts (sometimes lasting only a minute or two). It puts immense stress on your compressor and heat exchanger, wasting electricity and driving up bills.
- Temperature Mismatch: When the temperature on the wall display reads 78°F, but your living room feels like a freezing 68°F, your thermostat’s internal sensor may have drifted out of calibration.
- Unresponsive Controls: Pressing the buttons or touching the screen yields no response, or there is a long delay before you hear the familiar “click” of the system turning on.
If you notice these erratic behaviors, check out our guide on Signs Your System Needs HVAC Repair Services to help determine if the issue lies in your thermostat or deep within your HVAC equipment.
How to Check Your Thermostat Before Calling for Repair When the Screen is Blank
A blank screen is one of the most common reasons homeowners call us for help, but the solution is often incredibly simple.
First, address the battery replacement. Many digital thermostats rely on batteries (usually AA or AAA alkaline or lithium) to retain their settings and power the display. Even if your system has a “C-wire” for continuous power, backup batteries can fail and cause the screen to go dark. Pop off the thermostat cover, replace the batteries with fresh ones, and make sure they are oriented correctly.
Next, check your circuit breaker. If your HVAC system experiences a minor electrical surge, the breaker dedicated to your indoor air handler or outdoor condenser might trip. Head to your electrical panel and look for any switches resting in the middle “tripped” position. Flip the breaker completely to “Off” and then back to “On.”
Finally, locate the furnace switch. This looks like a standard light switch and is typically mounted on the side of your furnace, in your attic, or inside a dedicated utility closet. It is easy to accidentally flip this switch off while retrieving holiday decorations or cleaning. If this switch is off, your indoor HVAC unit loses all power, which frequently causes a blank thermostat screen.
For more details on electrical problems that can keep your system from starting, read our guide on what to do when your Furnace Won’t Start: Electrical Problems.
How to Check Your Thermostat Before Calling for Repair for Temperature Inaccuracy
If your home feels uncomfortably hot or cold despite what your thermostat claims, you need to test its accuracy.
You can perform a simple thermometer test to verify this. Tape a standard, calibrated digital thermometer to the wall right next to your thermostat. To prevent the wall’s temperature from skewing the results, place a small piece of cardboard or paper towels behind the thermometer. Leave it there for 15 to 30 minutes. If the two temperature readings differ by more than 2°F to 3°F, your thermostat has a calibration issue.
Often, temperature inaccuracy is caused by location bias. Your thermostat should always be installed on an interior wall, at shoulder height (about 5 feet off the ground), in a high-traffic area with natural airflow. If your thermostat is located in a drafty hallway, near a supply register, or in direct sunlight, it will read false temperatures. A thermostat bathed in afternoon sunlight will assume the entire house is boiling hot, causing your AC to run constantly.
If your thermostat seems accurate but your home still isn’t cooling down properly, you should consult our guide on AC Not Cooling: What to Check to rule out other common culprits.
Step-by-Step Guide: How to Check Your Thermostat Before Calling for Repair
Before you schedule a service call, walk through this systematic troubleshooting sequence to narrow down the problem. Understanding How Heating and AC Systems Work Together will help you see why a small adjustment on your wall controller can instantly restore comfort to your entire home.
Verifying Settings and System Mode
It might sound obvious, but human error is behind a surprising number of service calls. If you have multiple family members adjusting the climate control, settings can easily get mixed up.
- Check the Mode: Ensure your thermostat is explicitly set to heat mode in the winter or cool mode in the summer. If it is set to “Off” or “Fan Only,” your compressor and furnace will not turn on.
- Apply the 5-Degree Rule: To test if your thermostat is communicating with your HVAC system, adjust the target temperature so it is at least 5°F higher (for heating) or 5°F lower (for cooling) than the current room temperature. Wait 3 to 5 minutes to see if the system kicks on.
- Auto vs. On Fan Settings: Check your fan settings. Setting the fan to “On” keeps the indoor blower running continuously, even when the system isn’t actively heating or cooling. This can make you feel like the system is blowing lukewarm air. Switching the fan to “Auto” ensures it only runs when actively conditioning the air, which saves electricity and protects your blower motor.
If your system still won’t turn on after verifying these settings, read our checklist on Why Your AC Is Not Turning On: How to Fix It for further DIY steps.
Cleaning and Physical Maintenance
Over time, dust, pet hair, and spiderwebs can accumulate inside your thermostat cover. This debris acts as insulation, trapping heat around the internal sensors and causing incorrect readings.
- Turn off power to your HVAC system at the circuit breaker for safety.
- Gently remove the thermostat cover. Most covers snap off with a light tug, while some older models may have small retaining screws.
- Use a soft brush or a can of compressed air to perform careful dust removal from the internal components.
- If you have an older mechanical thermostat, locate the coiled bimetal coil. Dust this coil very gently, as bending it can permanently ruin its calibration.
- While the cover is off, perform a level check. Mechanical thermostats that use a mercury switch must be perfectly level on the wall to read temperatures accurately. Use a small bubble level and adjust the mounting screws if necessary.
Advanced Troubleshooting: Wiring, Calibration, and Thermostat Types
Different types of thermostats require different troubleshooting strategies. Here is a quick reference table comparing the three main types of thermostats found in Orange County homes:
| Thermostat Type | Average Lifespan | Power Source | Common Issues | Best Troubleshooting Step |
|---|---|---|---|---|
| Mechanical (Analog) | 20–35 Years | Low-voltage system | Dust buildup, unlevel mounting | Clean bimetal coil, level the unit |
| Programmable (Digital) | 10–20 Years | Batteries or C-wire | Dead batteries, lost schedules | Replace batteries, factory reset |
| Smart (Wi-Fi) | 10–15 Years | C-wire (24V power) | Wi-Fi disconnect, software bugs | Restart router, check C-wire voltage |
Inspecting Internal Connections Safely
If basic cleaning and battery changes don’t work, you can inspect the low-voltage wiring behind the thermostat wall plate.
Always perform a power shutoff at your circuit breaker before touching any internal wires. Once the power is off, remove the thermostat faceplate to expose the wire terminals.
Before you touch anything, use the smartphone photo trick: take a clear, well-lit photograph of the wiring connections. This ensures you have an exact record of which colored wire connects to which terminal (such as R, W, Y, G, or C) if a wire slips out.
Check for loose terminals by gently tugging on each wire with needle-nose pliers. If a wire is loose, use a small flathead screwdriver to tighten the terminal screw. Look closely for green or white powdery corrosion or burnt wire insulation. If the wire ends look corroded, they may need to be stripped back to clean, bare copper and reinserted.
For advanced DIYers, a multimeter test can verify if your thermostat is receiving the necessary 24-volt AC power from your furnace transformer. Set your multimeter to AC voltage and place the probes on the R (power) and C (common) terminals. You should see a reading between 20V and 30V AC. If you have no voltage, the issue is likely a blown fuse on your furnace control board or a damaged wire inside your walls.
Understanding Short Cycling and Calibration Issues
When your HVAC system experiences short cycling, it turns on and off too frequently without completing a full 10-to-15-minute cycle. This prevents your home from reaching your desired comfort level, wears out expensive components, and causes your energy bills to skyrocket.
A major cause of short cycling is sensor drift. Over the years, the internal temperature-sensing component (called a thermistor) can degrade, losing its ability to measure temperature accurately.
If your thermostat is miscalibrated by even a few degrees, it can trigger the 2-degree rule improperly, turning your AC or furnace off almost immediately after starting. Regular AC Tune-Ups Prevent Mid-Season Breakdowns and allow professional technicians to test and recalibrate your thermostat sensors before they cause system-wide damage.
Frequently Asked Questions about Thermostat Troubleshooting
How long do home thermostats typically last?
Most modern home thermostats have an average 10-year lifespan. While older mechanical units with mercury switches can last 20 years or more, digital and smart thermostats contain sensitive microprocessors and sensors that naturally degrade over time.
As a thermostat ages, it experiences component drift, meaning its temperature sensors slowly lose accuracy. Upgrading to a modern smart thermostat offers incredible upgrade benefits, including remote smartphone control, custom scheduling, and energy-use tracking. Certified smart thermostats can reduce your heating runtime by 8% and cooling runtime by 10%, often paying for themselves in energy savings within the first year.
Can a bad thermostat really increase my energy bills?
Yes, absolutely. A malfunctioning thermostat is a major source of energy waste. If your thermostat’s sensor drifts by just 2°F or 3°F, it may fail to recognize that your home has reached the target temperature. This causes a massive runtime increase, keeping your air conditioner or heater running hours longer than necessary every week.
Additionally, if your thermostat causes your system to short cycle, the repeated electrical surges required to start your compressor will rapidly inflate your monthly utility bills. According to the U.S. Department of Energy, simply turning your thermostat back 7°F to 10°F for eight hours a day can save you up to 10% a year on heating and cooling bills.
When should I call a professional instead of trying DIY fixes?
While basic troubleshooting is safe, you should step back and call a professional HVAC technician if you encounter any electrical red flags. These include visible scorch marks on the thermostat base, melted wire insulation, a burning smell, or a circuit breaker that trips instantly every time you reset it.
You should also call a pro if you experience persistent short cycling that doesn’t stop after changing your air filter and thermostat batteries. Attempting to bypass safety switches or handle complex, multi-stage wiring without proper training can result in severe electrical shock or permanent damage to your expensive HVAC equipment.
If you notice any of these warning signs, review our guide on 9 Signs You Need Emergency HVAC Service Right Now to ensure your home and family stay safe.
Conclusion: Trust Haven Air Conditioning for Your Orange County Home Comfort
If you have gone through our checklist and your home comfort system is still giving you trouble, let the certified, friendly professionals at Haven Air Conditioning take it from here. We provide transparent, neighborly HVAC services across the Greater Orange County and Riverside areas, including Anaheim, Fullerton, Irvine, Costa Mesa, and Corona.
Our mission is to take care of your indoor comfort so you can completely relax in your home. To prevent unexpected breakdowns and keep your system running at peak efficiency, we highly recommend regular professional maintenance. Check out The Essential Checklist for a Professional AC Tune-Up and read up on Furnace Maintenance: Keep System Running to see how we protect your equipment year-round.
For maximum peace of mind, consider joining our membership maintenance plan. Our members enjoy priority scheduling, exclusive discounts, and regular precision tune-ups that catch small issues before they turn into costly repairs.
Ready to get your home’s command center back in top shape? Schedule your professional AC repair in Anaheim, CA today! Or contact us for a second opinion on your thermostat or HVAC system. We are always here to help!