When Your AC Acts Up in Orange County: Start Here Before You Call
If you’re looking for ac troubleshooting tips before calling a professional, here’s the quick answer — most AC problems come down to just a handful of simple, fixable issues you can check yourself in under 30 minutes:
- Check your thermostat — confirm it’s set to COOL mode, at least 5°F below room temperature, with fresh batteries
- Inspect your air filter — hold it up to a light; if no light passes through, replace it immediately
- Check your circuit breakers — look for a tripped breaker in your main panel and reset it once (and only once)
- Verify the outdoor disconnect switch — confirm the switch near your condenser unit is in the ON position
- Clear debris around the outdoor unit — maintain at least 2 to 3 feet of clearance on all sides
- Look for ice on the coils or lines — if present, switch to fan-only mode and let it thaw for 2 to 4 hours
- Check the condensate drain — standing water near your indoor unit signals a clog that needs clearing
If none of these steps restore your cooling, it’s time to call a licensed HVAC technician.
Here in Orange County — whether you’re in Anaheim, Irvine, Fullerton, or anywhere in between — summer temperatures don’t forgive a struggling air conditioner. When your AC suddenly stops cooling or won’t turn on at all, the instinct is to pick up the phone right away. But here’s the thing: over 80% of AC breakdowns are caused by preventable issues that most homeowners can identify themselves. A dirty air filter alone accounts for roughly 25% of all AC system failures. That means there’s a real chance the fix is simpler — and cheaper — than you think.
Working through a short checklist before you call for service isn’t just about saving money. It also gives a technician faster, better information if you do need professional help. Knowing whether your indoor fan is running while the outdoor unit stays silent, for example, tells a trained HVAC tech a lot before they even arrive.
The steps below are organized from the safest and simplest checks to the ones that signal a genuine mechanical problem. Start at the top, and stop the moment something feels unsafe or unclear.

Why Your AC Won’t Cool or Turn On: The Core Power and Control Checks
When your home starts feeling more like a sauna than a sanctuary, the first step is to figure out whether you have a power issue or a control problem. If your system is completely silent, or if the indoor fan is blowing but the outdoor unit isn’t running, you are likely dealing with a power supply or thermostat glitch.
Power supply issues account for roughly 30% of sudden AC failures. Before assuming your compressor has given out, it is essential to trace the electrical path from your thermostat down to the outdoor disconnect switch. This simple process can save you from a diagnostic fee and restore your comfort in minutes. For a deeper dive into these initial symptoms, read our guide on Why Your AC Is Not Turning On: How to Fix It.
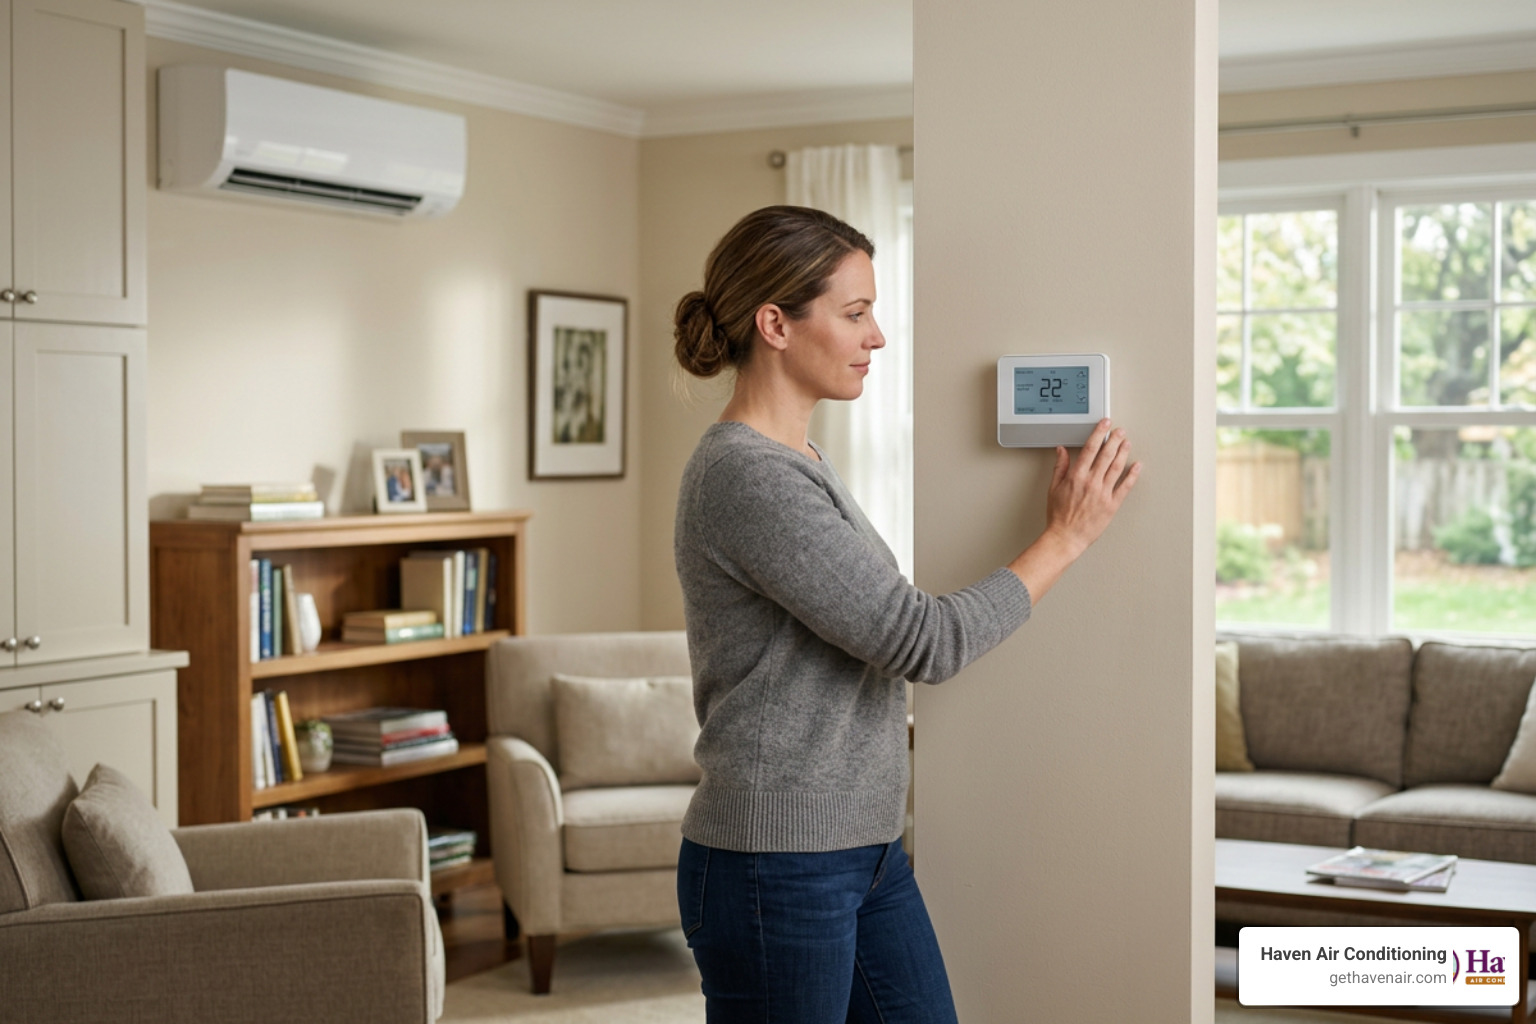
Thermostat AC Troubleshooting Tips Before Calling a Professional
Your thermostat is the brain of your HVAC system. If it isn’t communicating correctly, your air conditioner won’t receive the signal to start cooling. When troubleshooting, always begin with these basic thermostat checks:
- Verify the Settings: It sounds simple, but thermostats are easily bumped or changed by accident. Ensure the system is set explicitly to “Cool” and the fan is set to “Auto” rather than “On” (which runs the fan continuously even when the AC isn’t actively cooling).
- Check the Temperature Differential: Lower the setpoint temperature to at least 5°F below the current room temperature. This creates a strong enough call for cooling to trigger the system.
- Inspect the Batteries: If your thermostat screen is blank, dim, or flickering, replace the batteries immediately. Even if the screen is partially visible, weak batteries can prevent the thermostat from sending a strong enough 24V signal to your indoor air handler or furnace.
- Override Schedules: If you use a smart or programmable thermostat, check to see if an active hold or schedule is overriding your manual inputs. Temporarily clear any active schedules to test if the unit starts up.
System Reset AC Troubleshooting Tips Before Calling a Professional
If your thermostat settings are correct but the system remains unresponsive, you may need to perform a hard reset. Modern air conditioners have built-in safety switches that shut down the unit during power surges or localized electrical fluctuations.
To perform a safe 5-minute system reset, turn the thermostat to the “Off” position. Next, head to your home’s main electrical panel and locate the circuit breaker labeled “AC” or “Air Conditioner.” Central AC units often run on two separate circuits: one for the indoor air handler and one for the outdoor condenser. If you notice a tripped breaker, switch it completely off first, wait 30 seconds, and then flip it back to the “On” position.
That you should only reset a tripped breaker once. If it trips again immediately, this points to a more serious electrical issue, such as a failing capacitor, a short circuit, or a compressor failure. For safety steps on handling this, learn How to Troubleshoot AC Circuit Breaker Tripping.
Finally, check the physical switches. Your indoor unit has an ON/OFF switch (which often looks like a standard light switch) located near the indoor furnace or air handler. Ensure this hasn’t been flipped off by accident. Outdoors, check the metal disconnect box mounted on the wall near your condenser; ensure the pull-out switch or breaker inside is firmly in the “On” position.
Essential AC Troubleshooting Tips Before Calling a Professional for Airflow and Filters
If your air conditioner is running but failing to lower the temperature in your home, the issue is almost certainly restricted airflow. When air cannot flow freely through your system, heat exchange cannot take place, leaving you with warm air coming from your registers and a highly stressed system. For an exhaustive breakdown of what to inspect when the air isn’t cold, check out Air Conditioner Not Cooling: What to Check.
Inspecting and Replacing Your Air Filter
A dirty air filter is the number one cause of AC problems and is responsible for roughly 25% of all system failures. In fact, nine out of ten times, when central AC units aren’t working well, it comes down to a dirty filter.
When a filter becomes packed with dust, pet dander, and airborne debris, it restricts the volume of warm air passing over the indoor evaporator coil. Without enough warm air to absorb, the refrigerant inside the coil drops below freezing, causing condensation on the coil to turn into ice. This block of ice further chokes off airflow, eventually causing the entire system to shut down. Replacing a clogged filter can lower an AC’s energy consumption by up to 15%.
To inspect your filter, slide it out of the return air grille or the indoor unit cabinet and perform the “light test.” Hold the filter up to a light source; if you cannot see light passing through the fibers, the filter is clogged and must be replaced.
- Standard 1-inch filters: Inspect every 30 days and replace every 1 to 2 months.
- Thicker 2-inch to 5-inch media filters: Inspect every 3 months and replace every 6 to 12 months.
- MERV Ratings: For standard residential systems, stick to filters rated between MERV 8 and MERV 11. Higher MERV ratings (like MERV 13+) can restrict airflow too much on older systems, leading to the exact same freezing issues you are trying to prevent. If your system continues to run but refuses to cool, read about Your AC Running But Not Cooling.
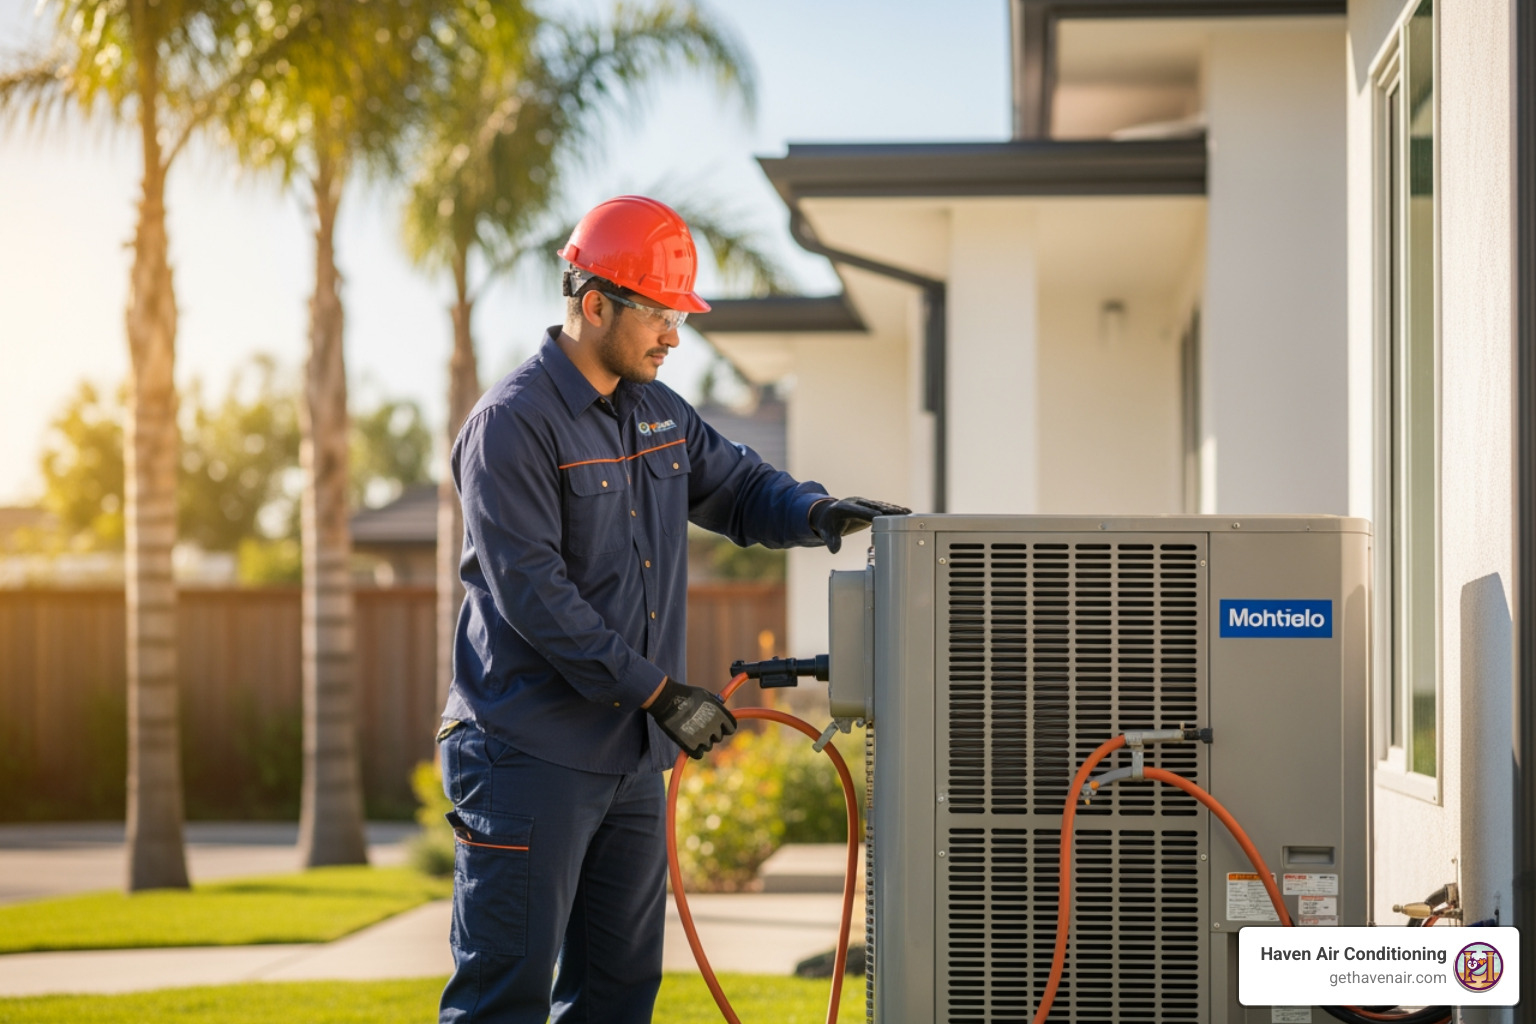
Clearing Debris Around the Outdoor Condenser Unit
The outdoor condenser unit’s job is to release the heat absorbed from inside your home into the outdoor air. To do this efficiently, the fan inside the condenser must be able to pull outdoor air through the delicate aluminum fins of the condenser coils.
If your outdoor unit is crowded by overgrown bushes, weeds, fallen leaves, or stored items, the heat gets trapped, forcing the compressor to work harder, run longer, and draw more electricity. This can lead to high energy bills and premature system failure.
To optimize outdoor airflow, maintain a clear zone of at least 2 to 3 feet around the sides of the condenser unit and at least 5 feet of vertical clearance above it. Keep lawn trimmings, mulch, and decorative plants trimmed back.
If the metal fins on the sides of the unit are caked with dirt or pollen, turn off the power at the outdoor disconnect switch and use a gentle garden hose to rinse them clean. Never use a pressure washer, as the high pressure will instantly bend the delicate aluminum fins, permanently restricting airflow. If you want to make sure you haven’t missed any vital steps, consult The Ultimate Checklist for an AC Not Cooling Properly.
Managing Water Leaks and Frozen Evaporator Coils
Water leaks and frozen coils are closely linked issues that often stem from the same root causes: poor airflow or drainage blockages. Understanding how to handle these situations can prevent costly water damage to your drywall, ceilings, and flooring. If you are experiencing these issues during the peak of summer, our guide on Fixing Common AC Problems During Summer offers targeted advice.
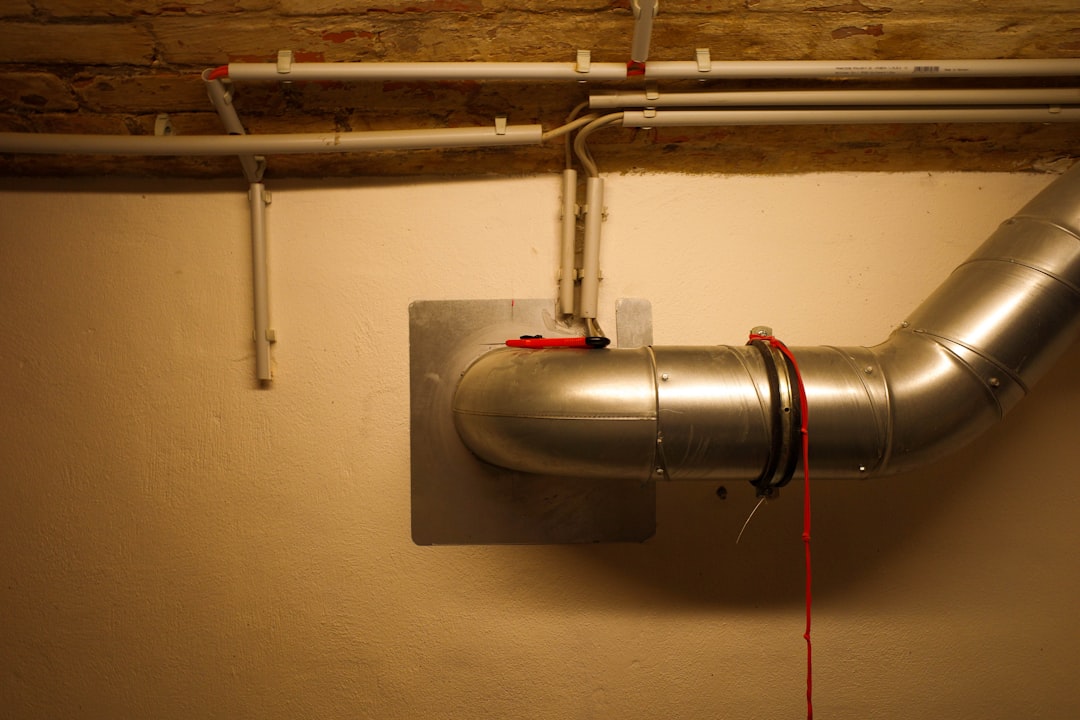
How to Clear a Clogged Condensate Drain Line
As your air conditioner cools your home, it also removes moisture from the air. This moisture condenses on the indoor evaporator coil and drips down into a drain pan, where it flows out of your home through a PVC condensate drain line.
Over time, algae, mold, and dust can build up inside this line, forming a thick clog. When the water can’t drain, it backs up into the drain pan. Modern HVAC systems are equipped with a safety float switch. If the water level in the pan rises too high, the float switch trips, cutting power to the AC to prevent a flood.
If you find standing water in your drain pan or near your indoor unit, follow these steps to clear the clog:
- Turn off the power to your HVAC system at the thermostat and the main breaker.
- Locate the drain line access port (usually a T-shaped PVC pipe near the indoor unit).
- Use a wet/dry vacuum on the outdoor end of the drain line to pull the clog through. Seal the connection with your hand or a rag to create a strong vacuum.
- Flush the line by pouring a cup of distilled white vinegar down the indoor access port. Let it sit for 30 minutes to kill any remaining algae, then flush with clean water. Doing this simple maintenance step quarterly can prevent clogs entirely.
Safe Thawing Procedures for Frozen Coils
If you notice ice forming on the copper refrigerant lines leading to your outdoor unit, or if your indoor evaporator coil is covered in frost, your system is frozen. Running an AC with frozen coils can cause liquid refrigerant to flood back into the compressor, destroying it.
If you suspect your coils are frozen, follow these steps to safely thaw them:
- Turn the AC off at your thermostat immediately. Do not keep running it in “Cool” mode.
- Switch the fan setting to “ON” (instead of “Auto”). This keeps the indoor fan running without running the outdoor condenser, blowing warm indoor air over the frozen coil to melt the ice safely.
- Let the system thaw completely, which typically takes 2 to 4 hours. Do not use hair dryers, heat guns, or sharp tools to scrape the ice off, as you can easily puncture the copper coils and cause a major refrigerant leak.
- Check the air filter while the system is thawing. If it is dirty, replace it before turning the cooling back on.
- Inspect the vents throughout your home to ensure at least 80% of your supply and return registers are completely open and unblocked by furniture or drapes.
Recognizing Serious Mechanical and Refrigerant Issues
While many AC issues are easily resolved with basic DIY checks, some problems require specialized training, tools, and certifications. Attempting to fix complex electrical or mechanical components yourself can result in severe injury, voided warranties, or irreversible damage to your system.
Identifying Unusual Noises and Refrigerant Leaks
Your air conditioner should operate with a steady, predictable hum. When it starts making loud, sudden, or persistent noises, it is trying to tell you something is wrong. Knowing what these sounds mean can help you catch a major failure before it happens:
- Squealing or Screeching: This typically points to a failing blower motor belt or worn-out bearings in either the indoor blower or the outdoor fan motor.
- Grinding or Metal-on-Metal Sounds: This is a serious issue that usually indicates a failing compressor or a motor bearing that has completely given out. Shut down the system immediately to prevent further damage.
- Hissing or Bubbling: A hissing sound near the indoor coil or the outdoor refrigerant lines is a classic sign of a refrigerant leak. Because refrigerants are toxic and regulated by federal law, you must contact a licensed technician to locate and repair the leak. Never attempt to add refrigerant yourself.
- Rattling or Buzzing: Rattling can be caused by loose cabinet panels or debris inside the outdoor unit. However, persistent buzzing often indicates an electrical issue, such as a failing contactor or capacitor.
To help diagnose these auditory warnings, read our helpful resources on how to Diagnose AC Strange Noises: Common Causes Explained and explore what to do about Rattling and Buzzing AC Sounds: What They Mean.
If you notice an oily residue around the service valves (Schrader valves) on your outdoor unit, this is another strong indicator of a slow refrigerant leak, as refrigerant carries compressor oil with it as it escapes. Learn more about the symptoms of this problem in our guide Low Refrigerant in AC: Signs and Solutions.
Frequently Asked Questions About AC Troubleshooting
To help you quickly decide whether to tackle an AC issue yourself or make a service call, we’ve put together a comparison table of common tasks:
| Troubleshooting Task | Can I Do It Myself (DIY)? | When to Call a Licensed Professional |
|---|---|---|
| Thermostat Settings & Batteries | Yes (Change batteries, verify modes) | If the thermostat is completely unresponsive after battery replacement |
| Air Filter Replacement | Yes (Check monthly, replace as needed) | If the filter slot is damaged or you need help sizing custom filters |
| Circuit Breaker Reset | Yes (Reset once only) | If the breaker trips repeatedly or immediately upon resetting |
| Outdoor Unit Clearance | Yes (Clear leaves, trim bushes) | If the outdoor fan blade is bent or the motor fails to spin |
| Condensate Drain Clogs | Yes (Use wet/dry vac, flush with vinegar) | If the drain pan continues to overflow or the float switch is broken |
| Frozen Evaporator Coils | Yes (Thaw by running fan-only mode) | If the coils freeze again immediately after thawing and replacing the filter |
| Refrigerant Leaks | No (Illegal and unsafe without EPA certification) | Always call a pro if you suspect a leak or hear hissing |
| Electrical Component Replacement | No (High voltage risk) | Always call a pro for capacitors, contactors, or wiring issues |
Why is my AC running but not cooling the house?
If your air conditioner runs continuously but fails to lower the indoor temperature, it is usually due to a lack of airflow (such as a heavily clogged air filter), dirty evaporator or condenser coils, or a low refrigerant charge.
Start by replacing your air filter and ensuring all supply and return vents are completely open and unblocked. Next, check the outdoor unit to ensure it is clean and has proper clearance. If the system still isn’t cooling after these checks, you likely have a refrigerant leak or a failing compressor that requires professional diagnostics.
What does it mean when my AC breaker keeps tripping?
A circuit breaker is a safety device designed to cut power when an electrical circuit draws more current than it can safely handle. If your AC breaker trips, it means a component is drawing excessive amperage.
This is commonly caused by a failing capacitor, a failing compressor motor that is struggling to start, or a short circuit in the wiring. Reset the breaker once. If it trips again immediately, do not attempt to reset it a third time. Repeatedly forcing a tripped breaker to reset can cause an electrical fire or permanently destroy your AC compressor.
How often should I replace my air filter in Orange County?
While standard industry advice suggests changing air filters every 90 days, Orange County homeowners should inspect their filters every 30 days during the peak cooling season.
Factors like pet dander, household dust, and seasonal pollen can clog filters much faster than manufacturer estimates. If you live in areas prone to seasonal wildfire smoke or high dust levels, your filter can become completely choked in as little as 3 or 4 weeks. Checking your filter monthly is the easiest way to protect your system and keep your energy bills low.
Conclusion
Taking the time to run through these basic checks can save you time, money, and unnecessary stress. Many common cooling issues can be resolved in under 30 minutes with a quick filter change, a thermostat adjustment, or a simple system reset.
However, when DIY troubleshooting isn’t enough, it is important to leave the complex electrical, mechanical, and refrigerant work to the experts. If you have walked through this checklist and your home is still uncomfortably warm, read our guide on the Signs You Need Expert 24-Hour AC Repair to understand when to call in the professionals.
At Haven Air Conditioning, we are proud to serve families across the Greater Orange County area — from Anaheim, Fullerton, and Irvine to Costa Mesa, Laguna Niguel, and Corona. Our certified, friendly professionals are dedicated to keeping your home comfortable year-round with transparent, reliable service.
If your system needs a second opinion or a professional tune-up, we are here to help. Contact us today or Schedule expert AC repair in Anaheim to get your cooling back on track.