Why Every Orange County Homeowner Needs a Spring Air Filter Replacement Guide Right Now
Following a spring air filter replacement guide is one of the simplest and most effective things you can do to protect your home’s air quality and keep your HVAC system running smoothly as pollen season peaks across Orange County.
Here’s a quick overview of how to replace your air filter this spring:
- Turn off your HVAC system at the thermostat before you start.
- Locate your filter — usually in the return air vent, air handler, or furnace compartment.
- Remove the old filter and note the size printed on the frame.
- Insert the new filter with the airflow arrow pointing toward the furnace or air handler.
- Restore power and mark your calendar to check again in 30 days.
Spring in places like Anaheim, Fullerton, and Irvine means rising pollen counts, months of winter dust stirred back into the air, and an HVAC system switching from heat to cool for the first time since fall. That’s a lot of pressure on a single filter. A clogged filter doesn’t just fail to trap allergens — it can actively recirculate them through your home. A high-quality replacement filter can capture up to 99% of airborne allergens, and a clean cabin air filter can even improve your car’s gas mileage by up to 10% and boost acceleration by up to 11%.
The good news? This is one of the easiest maintenance tasks you can do yourself — and it makes a real difference.

Why You Need a Spring Air Filter Replacement Guide
As we move deeper into the beautiful spring of June 2026, many of us in the Greater Orange County and Riverside areas are opening up our windows to catch the coastal breeze. However, this transition period also means our heating and cooling systems are switching gears. During the chilly winter months, your home’s HVAC system was running consistently to keep you cozy. Throughout this time, your air filter was quietly accumulating a heavy buildup of winter dust, pet dander, dead skin cells, and lint.
When spring arrives, this accumulated winter debris is joined by a massive wave of outdoor allergens. In Southern California, tree, grass, and weed pollens coat our outdoor surfaces in a fine, powdery layer. If your air filter is already packed to capacity with winter dust, it cannot do its job. In fact, a high-quality new air filter can capture up to 99% of airborne allergens, but a severely clogged one will restrict airflow, causing your system to work twice as hard to push air through your home.
This restriction in airflow directly impacts your utility bills and the longevity of your equipment. When your system struggles to breathe, it draws more electricity, which quickly drives up your monthly cooling costs. Learning how to properly select and change your filters is The Secret to Lower Bills and Fewer AC Breakdowns This Summer. By prioritizing this simple seasonal task, you are taking the first step in discovering How to Save Money on Air Conditioning before the intense summer heatwaves roll into regions like Corona, Norco, and Costa Mesa.
Understanding Your Home and Car Filters in June 2026
It is easy to forget that we live in two distinct indoor environments during the spring: our homes and our vehicles. Both rely heavily on specialized air filters to keep the air we breathe clean, safe, and free of seasonal irritants.
- Your Home HVAC Filter: This filter is placed within your central heating and air conditioning system. Its primary job is twofold: it protects the sensitive internal components of your HVAC system (like the blower motor and evaporator coils) from dust buildup, and it purifies the air circulating throughout your living spaces.
- Your Vehicle’s Cabin Air Filter: Similar to your home filter, your car’s cabin air filter cleans the air entering the passenger cabin through the heating, ventilation, and air conditioning system. It screens out road dust, exhaust fumes, mold spores, and heavy spring pollen.
During peak pollen season, both systems face an aggressive surge of microscopic particles. Without a clean filter in place, these allergens bypass the filtration media, settling on your furniture, circulating through your vents, and triggering stubborn seasonal allergy symptoms like sneezing, itchy eyes, and congestion. Replacing both filters simultaneously in the spring ensures comprehensive protection whether you are relaxing in your living room in Fullerton or commuting along the freeway in Riverside.
Choosing the Right MERV Rating for Your Spring Air Filter Replacement Guide
When purchasing a new home air filter, you will encounter a rating system known as MERV, which stands for Minimum Efficiency Reporting Value. The MERV scale runs from 1 to 20, measuring how effectively a filter traps particles of varying sizes. However, bigger is not always better for standard residential systems.
For the vast majority of homes in Orange County and Riverside, MERV 8 to 11 is the absolute sweet spot. Filters in this range provide exceptional filtration, capturing pollen, mold spores, dust mites, and pet dander, without placing an undue burden on your HVAC system’s blower motor.
While hospital-grade HEPA filters (typically rated MERV 17 to 20) are incredibly efficient at capturing microscopic pathogens, they are often too dense for standard residential HVAC systems. Installing a filter that is too restrictive can choke your system’s airflow, leading to frozen coils, overheating, and eventual mechanical failure.
To help you make the right choice for your household, we have compiled a quick comparison table below:
| Filter Type | MERV Rating | What It Captures | Best Use Case |
|---|---|---|---|
| Basic Fiberglass | MERV 1 – 4 | Large dust particles, lint, carpet fibers | Minimal equipment protection; not recommended for allergy sufferers. Must be replaced monthly. |
| Standard Pleated | MERV 5 – 8 | Dust mites, mold spores, pollen, household dust | Good baseline filtration for standard homes without pets. Replace every 60 to 90 days. |
| High-Efficiency Pleated | MERV 11 – 13 | Pet dander, auto emissions, fine dust, microscopic allergens | The Sweet Spot for allergy sufferers, pet owners, and homes in high-pollen areas. Replace every 30 to 90 days. |
| HEPA / Media Filters | MERV 14 – 16+ | Bacteria, tobacco smoke, viruses, microscopic droplets | Typically requires a specialized media cabinet or system modifications. Excellent for severe respiratory issues. |
Signs Your Home and Vehicle Filters Need Immediate Attention
How do you know if your filters are crying out for a replacement? Your home and vehicle will usually drop several clear hints. Recognizing these warning signs early can save you from poor air quality and expensive repair bills.
- Reduced Airflow from the Vents: If you notice that the air blowing from your home registers or your car’s dashboard vents feels weak, even when set to high, a clogged filter is the most likely culprit.
- Musty or Stale Odors: When air filters trap moisture along with organic debris, they can become breeding grounds for mold and bacteria. If you notice a musty, “dirty sock” smell when your AC kicks on, it is time for an immediate change.
- An Increase in Indoor Dust: Do you find yourself dusting your coffee table in Anaheim or Buena Park, only to find a fresh layer of fine yellow-gray dust settling on it just hours later? This “dust bomb” effect happens when a saturated filter can no longer hold any more particles, allowing them to bypass the filter entirely.
- Allergy Flare-Ups: If you or your family members are experiencing sudden bouts of sneezing, coughing, or itchy eyes while indoors, your filter has likely stopped capturing airborne allergens.
- Foggy Windshields in Your Car: In your vehicle, a clogged cabin air filter restricts the defroster’s ability to clear moisture from the glass, leaving you with a persistent fog on humid spring mornings.
- Discolored Filters: When you inspect your home filter, it should look white or light off-white. If your Furnace Filters Turn Black: Signs for Replacement are present, such as heavy soot, mold growth, or extreme dust buildup, discard it immediately.
Step-by-Step Guide: Replacing Your Home and Vehicle Filters

Before you begin the replacement process, you must ensure you have the correct filter size. For home filters, look at the outer cardboard frame of your existing filter. You will see a set of numbers printed on it, such as “20x20x1.” This is the nominal size.
Note: The nominal size is a rounded number used for retail labeling, whereas the actual physical measurements of the filter are slightly smaller. Always buy based on the nominal size printed on your old filter to prevent “blow-by” — a common issue where air slips through gaps around an ill-fitting filter, rendering your filtration useless.
Step-by-Step Home HVAC Spring Air Filter Replacement Guide
Replacing your home’s air filter is a quick, five-minute task. Follow these steps to ensure a safe and proper installation:
- Turn Off the Power: For safety, always turn off your heating and air conditioning system at the thermostat before touching the filter. Running the system without a filter, even for a few minutes, can draw loose dust directly into the blower motor.
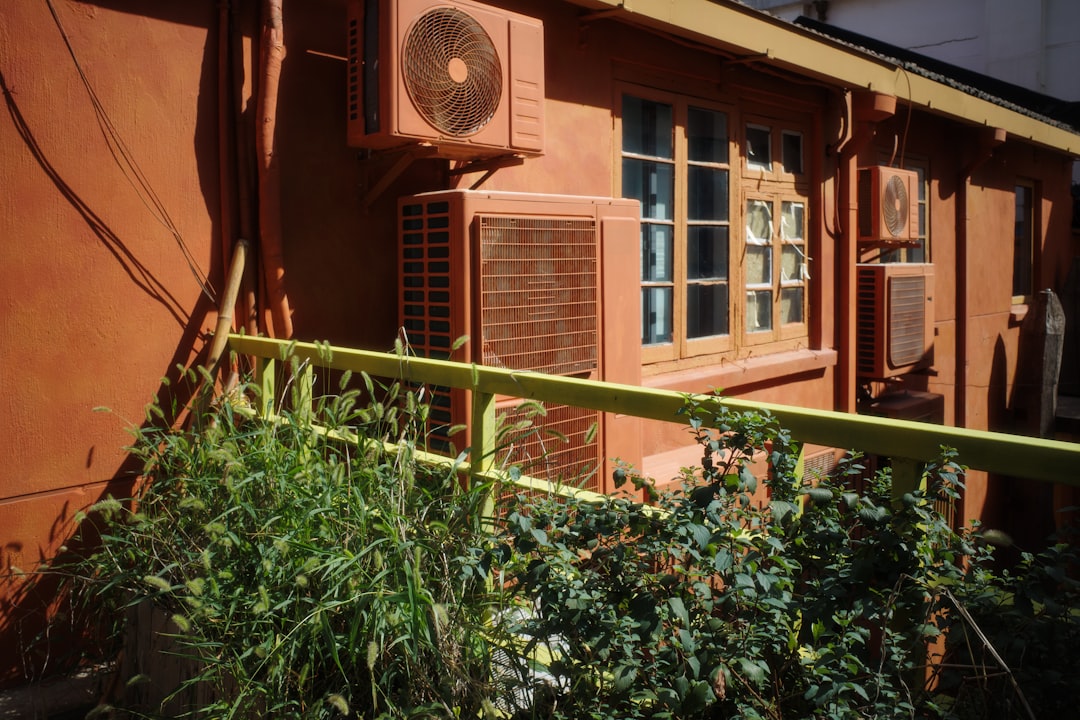
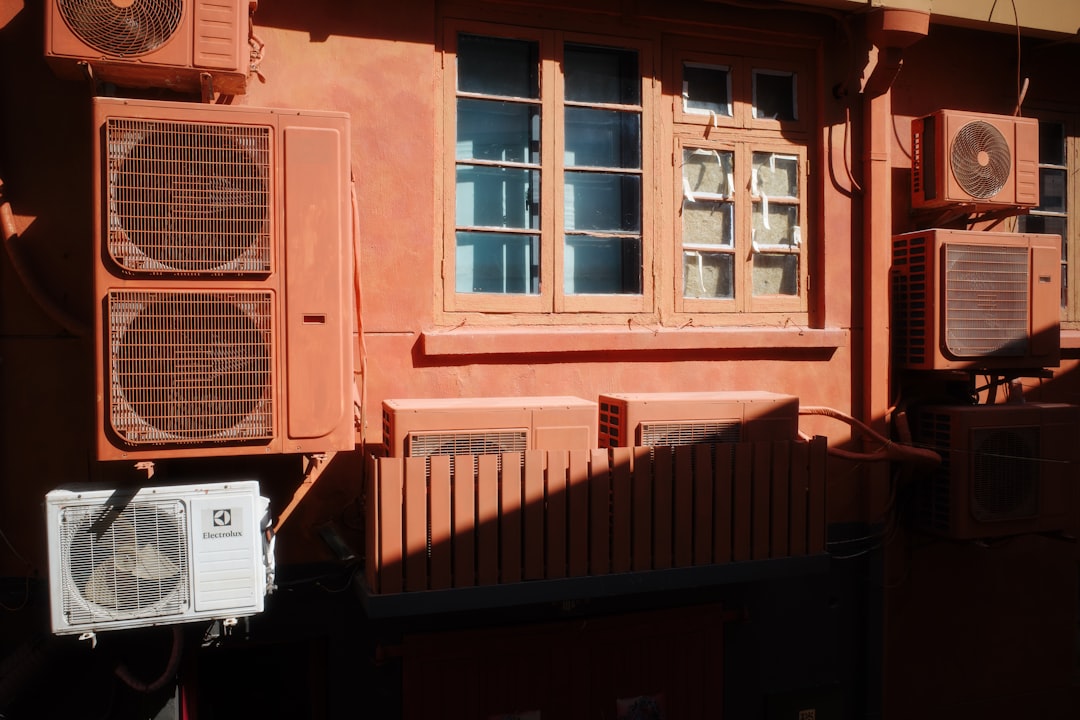
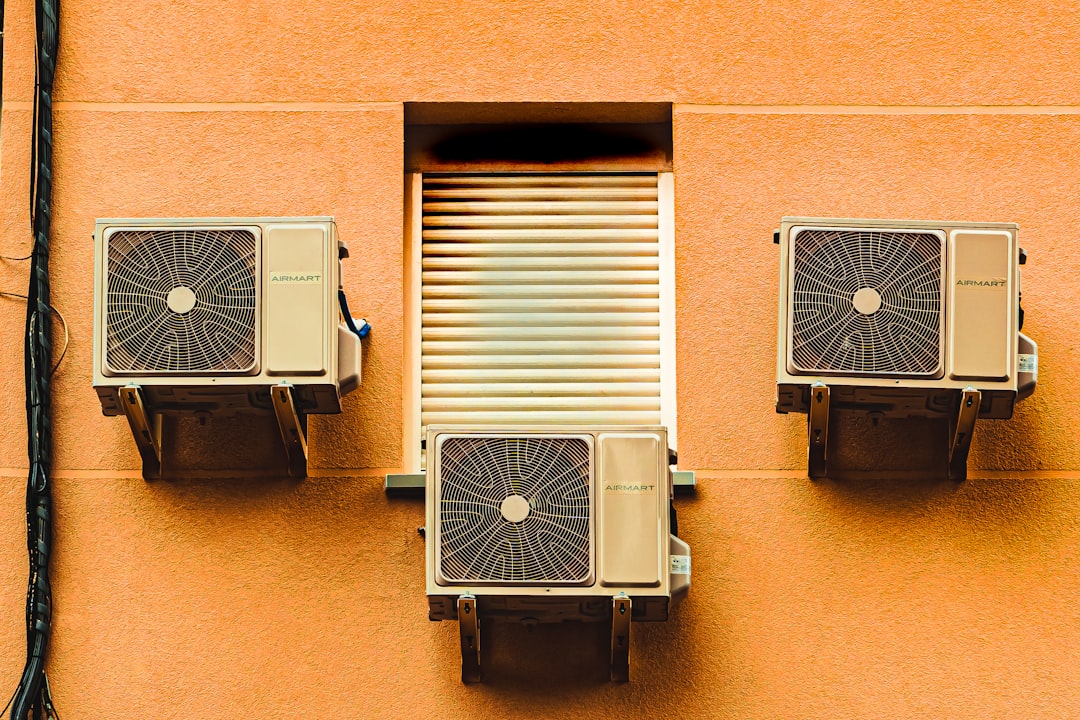
- Locate the Filter Slot: Depending on your home’s layout in Orange County, your filter may be located inside a return air grille on a wall or ceiling, or inside the main air handler cabinet in your closet, garage, or attic.
- Remove the Old Filter: Carefully slide the dusty filter out of its slot. Keep a trash bag nearby so you can slip the dirty filter inside immediately, preventing a cloud of dust and pollen from escaping into your living space.
- Wipe Down the Housing: Use a damp microfiber cloth to wipe away any residual dust or grime from the inside of the filter slot or grille. Putting a clean filter into a dirty housing is a recipe for instant dust bypass.
- Check the Airflow Direction: Look closely at the cardboard frame of your new filter. You will see printed arrows indicating the direction of the airflow. The arrows must point toward the blower motor or furnace fan (away from the open room and into the ductwork). Installing a filter backward can cause the pleats to buckle or collapse under pressure.
- Secure and Restart: Slide the new filter in, secure the access latch or grille cover, and turn your system back on at the thermostat. Write the installation date on the edge of the filter frame as a handy visual reminder for your next check!
How to Locate and Replace Your Car’s Cabin Air Filter
Many drivers do not realize their car has an air filter dedicated entirely to the passenger cabin. Replacing this filter annually in the spring is an excellent DIY task that pays off immediately.
- Access the Filter Chamber: In most modern vehicles (including popular SUVs, sedans, and trucks), the cabin air filter is located directly behind the glove box. Open your glove box, empty its contents, and release the plastic stop tabs on the sides to let the glove box drop down completely.
- Remove the Cover Panel: You will see a plastic rectangular cover plate. Squeeze the locking tabs on either side to remove the cover and expose the filter.
- Slide Out the Old Filter: Note the direction of the airflow arrows on the old filter before pulling it out. Slide the filter out slowly to avoid spilling dried leaves, twigs, or debris into your vehicle’s blower fan.
- Insert the New Filter: Clean any stray debris from the chamber, then slide the new filter in, ensuring the airflow arrows match the direction of the old one (usually pointing downward toward the floor).
- Reassemble: Snap the cover plate back on, lift the glove box back into position, and secure the side tabs.
By taking ten minutes to perform this simple swap, you can boost your vehicle’s AC blower performance, improve your overall cabin comfort, and make your spring drives along the coast incredibly refreshing.
Frequently Asked Questions About Spring Air Filters
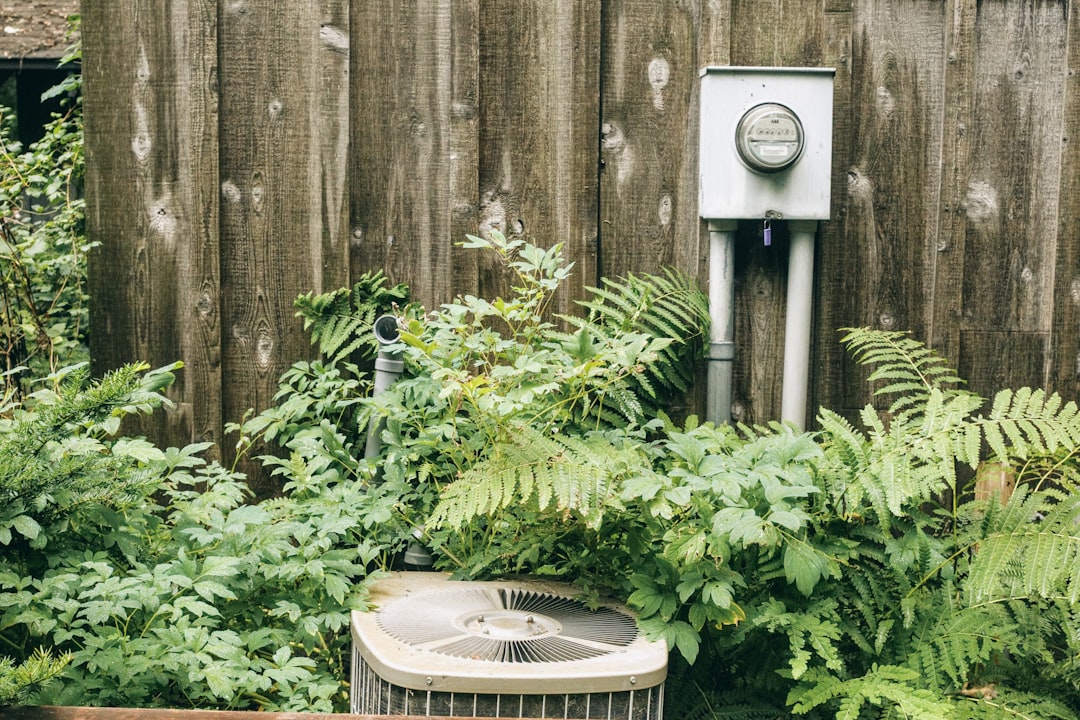
While changing your indoor filters is a fantastic step, complete spring comfort requires looking at your entire system. For example, ensuring your outdoor condenser unit has at least two feet of clear space around it and keeping your condensate drain line clear of algae are critical steps in a thorough Summer AC System Inspection: What to Look For. Combining your DIY filter changes with a professional Spring AC Tune-Ups and System Inspection ensures your system is fully prepared for the hot summer months ahead.
How often should I check or replace my air filter during peak pollen season?
During the heavy pollen months of spring, you should check your air filter every 30 days. While many high-quality pleated filters are rated to last up to 90 days, heavy pollen counts, pet shedding, and household traffic can clog a filter much faster than expected.
Perform a quick visual inspection: hold your filter up to a bright light source. If you cannot see light passing through the fibers, or if the surface looks visibly gray and fuzzy with dust, replace it immediately.
What common mistakes should I avoid when replacing an air filter?
- Installing the Filter Backward: This restricts airflow and can cause the filter to bend or get sucked into the furnace fan.
- Using the Wrong Size: Gaps around the edges allow dirty air to bypass the filter entirely, leading to dirty coils and poor indoor air quality.
- Reinstalling Wet Washable Filters: If you use a reusable electrostatic filter, it must be 100% dry before you slide it back in. Reinstalling a damp filter introduces moisture into your dark ductwork, creating an ideal breeding ground for mold and mildew.
- Forgetting to Turn Off the System: Always shut down the system at the thermostat to keep dust from bypassing the open slot during the swap.
How does a clean air filter affect HVAC performance and energy use?
A clean air filter is the foundation of a healthy, efficient HVAC system. When your system can breathe easily, it runs shorter, more efficient cycles to cool your home. This directly translates to lower monthly utility bills and reduced wear and tear on expensive internal components.
In contrast, a clogged filter forces your system to run longer, hotter, and under extreme stress. This is one of the leading causes of frozen evaporator coils and blower motor burnouts. Routine filter replacement is a pillar of HVAC Preventive Maintenance and is the easiest way to ensure AC Tune-Ups Prevent Mid-Season Breakdowns when Southern California temperatures soar.
Breathe Easy with Haven Air Conditioning This Spring
At Haven Air Conditioning, we believe that your home should be your ultimate sanctuary. Keeping your indoor air fresh, clean, and healthy shouldn’t feel like a chore. While keeping up with your spring air filter replacement guide is an excellent DIY habit, some HVAC tasks are best left to the professionals.
If you want absolute peace of mind and want to keep your home’s comfort on autopilot, we invite you to check out our comprehensive Air Conditioner Maintenance Plan. Our certified, friendly technicians serve families throughout Anaheim, Fullerton, Irvine, and the surrounding Orange County communities. We will thoroughly inspect, clean, and tune your system to ensure it runs at peak efficiency all year long.
Breathe easy and let us handle your comfort. Breathe easy with professional HVAC maintenance in Anaheim, CA by reaching out to us today to schedule your spring check-up or to get a professional second opinion on your home’s indoor air quality!
#HavenAir #HVAC #OrangeCountyComfort