Why Home Dryer Vent Cleaning is Critical for Your Safety
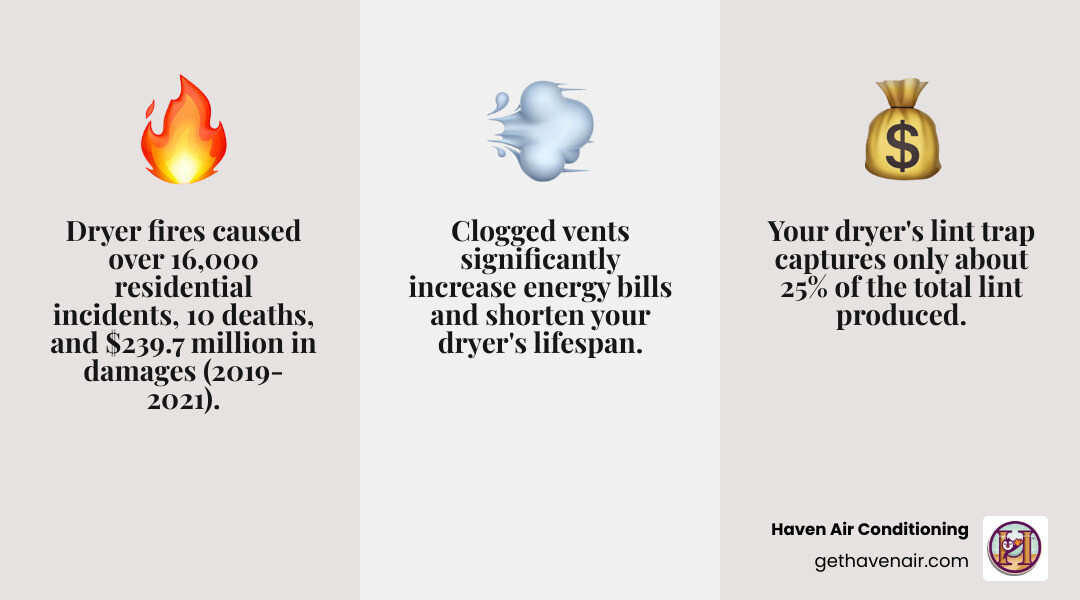
Home dryer vent cleaning is one of the most important yet overlooked maintenance tasks that could save your life and property. Between 2019 and 2021, dryer fires caused over 16,000 residential fires, resulting in 10 deaths and $239.7 million in structure damage according to the Consumer Product Safety Commission.
Quick Answer: Essential Steps for Home Dryer Vent Cleaning:
- Unplug your dryer and move it away from the wall
- Disconnect the duct from the back of the dryer
- Vacuum out lint from both the dryer opening and duct
- Use a rotary brush kit to scrub the entire vent system
- Clean the exterior vent and remove any blockages
- Reconnect everything and test your dryer
Your dryer’s lint trap only catches about 25% of the lint from your clothes. The rest travels through your dryer vent system, where it accumulates over time. This lint buildup creates a perfect storm for disaster – it’s extremely flammable and restricts airflow, causing your dryer to overheat.
But the dangers go beyond fire risk. A clogged dryer vent forces your appliance to work harder, increasing energy bills and shortening its lifespan. Your clothes may come out damp, requiring multiple cycles, or emerge damaged from excessive heat.
The good news? Most homeowners can tackle this crucial maintenance task themselves with the right tools and knowledge.
The High Stakes of a Clogged Dryer Vent
When you skip home dryer vent cleaning, you’re essentially playing Russian roulette with your home’s safety and your family’s well-being. What starts as a simple maintenance oversight can quickly spiral into a dangerous and expensive nightmare.
The National Fire Protection Association doesn’t mince words about this issue – clogged dryer vents are among the leading causes of residential fires. We’re not talking about minor inconveniences here. Between 2019 and 2021 alone, dryer fires caused over 16,000 residential blazes, claiming 10 lives and destroying $239.7 million worth of property.
But fire isn’t the only villain in this story. A blocked vent can also create carbon monoxide risks in gas dryers, lead to water damage from trapped moisture, and turn your laundry room into a breeding ground for mold and mildew. Your clothes suffer too – they come out wrinkled, overheated, or still damp after what should have been a normal cycle.
The financial hit extends beyond potential disaster costs. Your energy bills skyrocket as your poor dryer works overtime, and the constant strain shortens your appliance’s lifespan significantly. It’s like forcing your car to drive uphill in first gear – something’s going to break eventually.
Why Lint is a Major Fire Hazard
Here’s something that might surprise you: that innocent-looking lint in your dryer trap is actually a highly flammable material made up of tiny fabric fibers, hair, and dust particles. Think of it as nature’s perfect kindling – fluffy, dry, and just waiting for a spark.
Your lint trap only catches about 25% of the lint from each load. The remaining 75% travels through your vent system, where it sticks to the walls and accumulates over time. When this buildup meets the intense heat your dryer generates (which can reach temperatures over 200°F), you’ve got all the ingredients for a devastating fire.
The combination of heat and lint creates what fire safety experts call a “perfect storm.” The lint acts as fuel, the dryer provides the ignition source, and the restricted airflow creates an oxygen-starved environment that can cause smoldering fires to suddenly burst into flames.
Municipal fire departments across North America respond to an estimated 15,970 home fires involving dryers each year. These aren’t just statistics – they represent families who lost everything because of something as preventable as cleaning a vent. The sobering reality is that failure to clean dryer vents remains the leading cause of these fires.
How a Clogged Vent Wastes Energy and Money
Every time you run your dryer with a clogged vent, you’re essentially throwing money out the window. Here’s why: your dryer relies on proper airflow to move hot, moist air away from your clothes and out of your home. When lint blocks this pathway, your appliance has to work much harder to do its job.
Restricted airflow forces your dryer into marathon drying cycles. What should take 45 minutes might stretch to an hour and a half or more. Those longer drying cycles translate directly into higher utility bills – sometimes increasing your energy costs by 30% or more.
Natural Resources Canada explains that even the most efficient modern dryers lose their energy-saving benefits when the ventilation system isn’t properly maintained. You could have the greenest, most efficient appliance on the market, but a clogged vent will completely negate those savings.
The unnecessary wear on dryer components is like asking a marathon runner to sprint the entire race. Your heating element, motor, and other parts work overtime, leading to premature breakdowns and costly repairs. We’ve seen dryers that should have lasted 15 years fail after just 8 because their owners never cleaned the vents.
Your clothes pay the price too. Excessive heat and extended cycles can shrink fabrics, fade colors, and leave your garments feeling rough or damaged. In severe cases, clothes may come out with a musty odor or still damp, requiring multiple cycles to finish the job.
For a deeper dive into why this maintenance matters so much for your entire home, check out our guide on Why Regular Vent Cleaning Matters for Your Home.
Warning Signs: Is Your Dryer Crying for Help?
Your dryer has its own way of telling you when something’s wrong – you just need to know how to listen. Think of these warning signs as your appliance’s SOS signals, letting you know that home dryer vent cleaning is desperately needed.
The most obvious red flag is when your clothes take much longer to dry than usual. If that load of towels that used to dry in one cycle now needs two or three rounds, your dryer is working overtime because lint is choking off the airflow. It’s like trying to breathe through a straw – everything slows down.
Another telltale sign is when your clothes feel scorching hot at the end of a cycle, or when the top of your dryer feels like a stovetop. This isn’t normal! Your dryer should warm your clothes, not turn them into miniature heating pads. When heat can’t escape properly through a clogged vent, it builds up inside the machine and your laundry.
Here’s the warning sign that should make you drop everything: a burning smell during operation. This is your dryer’s way of screaming for help. That smell often means lint is literally cooking inside your vent system. If you notice this, stop using your dryer immediately and investigate.
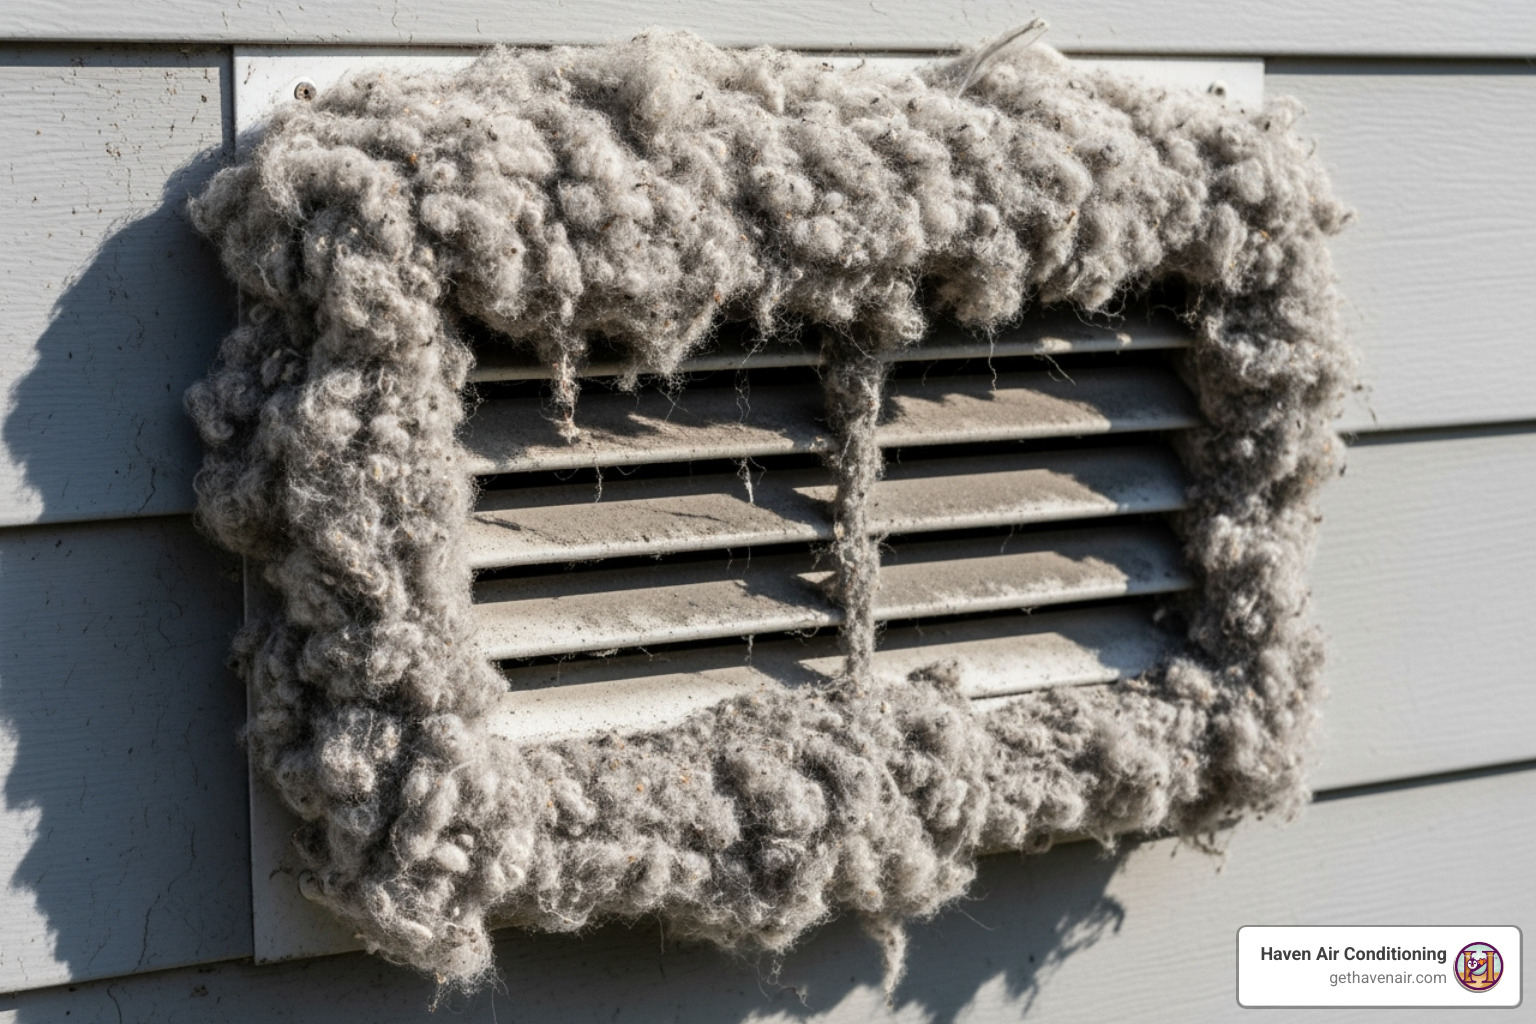
Keep an eye out for visible lint accumulation around your dryer area or near the exterior vent. While some lint around the lint trap is normal, finding fluffy gray deposits scattered around your laundry room or piling up outside your home means the system is overloaded.
Take a peek at your exterior vent flap while your dryer is running. This little door should pop open like it’s eager to let air out. If it stays shut or barely budges, you’ve got a blockage problem that’s preventing proper airflow.
Your laundry room can also give you clues. If it feels like a humid jungle during drying cycles, that moisture has nowhere to go. This trapped humidity can even lead to mold growth – definitely not what you want in your home.
Sometimes your dryer might start making unusual noises – squeaking, rattling, or vibrating more than normal. While not as common as other warning signs, these sounds can indicate that lint buildup is affecting internal components.
The good news? Catching these signs early means you can tackle the problem before it becomes dangerous or expensive. Your dryer is trying to help you help it – all you need to do is pay attention to what it’s telling you.
Your Step-by-Step Guide to Home Dryer Vent Cleaning
Performing a home dryer vent cleaning might seem daunting, but with the right tools and a systematic approach, it’s a task most homeowners can confidently tackle. By following these steps, you can significantly improve your dryer’s efficiency and, most importantly, improve your home’s safety.
Essential Tools for Home Dryer Vent Cleaning
Before you begin, gather these necessary tools:
- Dryer Vent Cleaning Kit: This typically includes flexible rods that connect to each other and a rotating bristle brush head.
- Power Drill: To attach to the dryer vent brush kit for spinning the brush.
- Vacuum Cleaner with Hose Attachment (preferably a shop vac): Essential for sucking up loose lint and debris. A crevice attachment is particularly useful.
- Screwdriver: To loosen clamps on the dryer duct.
- Gloves and Dust Mask: For personal protection against lint and dust.
- Aluminum Foil Tape (metal duct tape): For securely sealing duct connections after cleaning.
- Flashlight: To inspect the vent’s interior.
- Binder Clip: (Optional) To hold the exterior vent flap open.
Safety First: Precautions for Home Dryer Vent Cleaning
Safety is paramount when performing any home maintenance, especially with appliances that pose fire risks.
- Disconnect Power/Gas: For electric dryers, always unplug the appliance from the wall outlet. For gas dryers, turn off the gas supply valve (usually a yellow handle on a pipe behind the dryer) in addition to unplugging it. This prevents accidental starts and gas leaks.
- Wear Protective Gear: Lint and dust can be irritating. Wear gloves to protect your hands and a dust mask to avoid inhaling airborne particles.
- Ensure Ventilation: Open windows and doors in your laundry area to allow for proper airflow and to disperse any dust or fumes.
- Inspect for Duct Damage: Before and after cleaning, carefully inspect the entire length of your dryer vent hose for any kinks, tears, holes, or crushing. Damaged ducts restrict airflow and can be fire hazards.
- Avoid Plastic/Vinyl Ducts: If your dryer currently uses a flexible plastic or vinyl duct, we highly recommend replacing it with rigid metal or semi-rigid metal ductwork. These materials are code-compliant, more durable, and less prone to kinks and lint accumulation, significantly reducing fire risk. Accordion-style semi-rigid ducts are better than plastic, but rigid metal provides the best airflow.
- Use Appropriate Tools: Avoid using sharp objects or abrasive materials inside the vent that could damage the ductwork or create sparks. Stick to the recommended dryer vent cleaning kits.
- Professional Help When in Doubt: If you’re unsure about any step, if your vent system is complex, or if you encounter significant issues, it’s always best to consider hiring a professional.
The Cleaning Process: From Dryer to Outdoors
Ready to get cleaning? Follow these steps for a thorough home dryer vent cleaning:
-
Prepare the Dryer:
- Unplug your dryer (or turn off the gas supply valve if it’s a gas dryer).
- Gently pull the dryer away from the wall to give yourself enough space to work behind it.
-
Disconnect the Dryer Duct:
- Locate the dryer vent hose (duct) connecting the back of your dryer to the wall.
- Use a screwdriver to loosen the clamp (or remove any tape) securing the duct to the dryer and the wall.
- Carefully disconnect the duct from both ends. Inspect the duct for excessive damage, and if it’s plastic or vinyl, consider replacing it with metal.
-
Vacuum the Dryer and Wall Openings:
- Using your vacuum cleaner with a hose attachment (crevice tool works great), thoroughly vacuum the lint from the dryer’s exhaust opening on the back of the appliance.
- Next, vacuum the wall opening where the dryer duct connects. Reach in as far as you can to remove any loose lint.
-
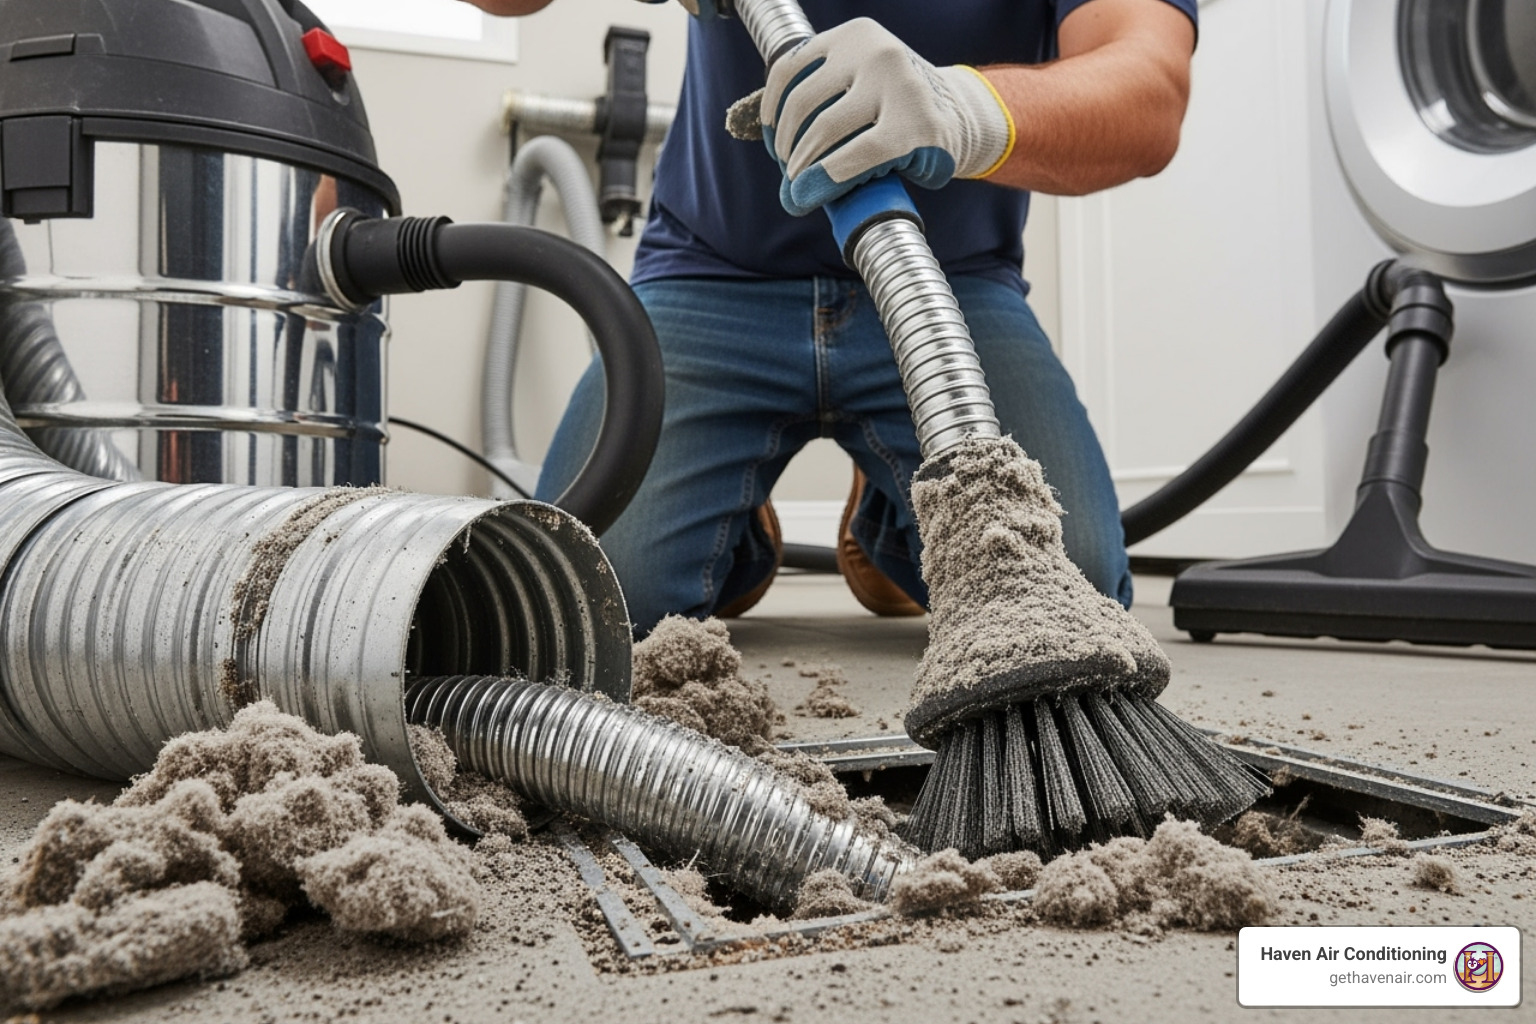
Clean the Ductwork with a Rotary Brush Kit:
- Assemble your dryer vent cleaning kit by attaching the brush head to the flexible rods. You may need to add more rods as you go to reach the full length of the vent.
- Attach the other end of the rods to your power drill.
- Insert the brush into the ductwork from the wall opening. Set your drill to a low, clockwise rotation (this helps the brush grab lint and prevents rods from unscrewing).
- Slowly feed the rotating brush into the duct, pushing it forward and then pulling it back, working your way through the entire length of the vent.
- As you work, use your vacuum cleaner to collect the lint that the brush dislodges. This is where a shop vac really shines.
- Repeat this process until you see no more lint being dislodged. For very long or winding ducts, you might need to clean from both the indoor and outdoor ends.
-
Clean the Exterior Vent Cover:
- Go outside your home and locate where your dryer vent exhausts.
- Remove any debris, lint, or even animal nests that might be obstructing the vent cover. Small animals and birds sometimes build nests inside, which can lead to severe blockages and even pose a risk of carbon monoxide backup, especially with gas dryers.
- You might use your screwdriver to remove the vent cover for a more thorough cleaning.
- Use your vacuum cleaner or a brush to clean the vent flap and the interior of the exterior vent. A binder clip can be useful to hold the flap open while you clean.
- Ensure the flap moves freely and opens fully.
-
Reconnect and Test:
- Inspect your cleaned ductwork one last time for any remaining lint or damage. If you found holes or tears, replace the duct.
- Reattach the dryer duct to both the wall opening and the back of your dryer.
- Secure the connections tightly with the clamps or aluminum foil tape. Metal duct tape is durable and creates strong, leak-minimizing connections.
- Gently push your dryer back into place, ensuring the duct isn’t kinked or crushed.
- Plug the dryer back in (and turn on the gas valve if applicable).
- Run your dryer on a fluff or air-dry cycle for 15-20 minutes. This helps to dislodge any remaining small debris and allows you to check that all connections are secure and airflow is restored.
-
Bonus Tip: Clean the Moisture Sensor:
- While you’re at it, consider cleaning your dryer’s moisture sensor. This is usually located inside the dryer drum, near the lint trap, appearing as thin metal bars. Dryer sheets can leave a residue on these sensors, affecting their accuracy.
- Every few months, or if your auto-dry cycles seem off, clean the sensor with a cotton ball and rubbing alcohol.
This comprehensive approach will ensure your dryer vent is lint-free and your home is safer. For a visual guide and more tips, check out How to Clean a Dryer Vent Yourself.
DIY vs. Professional Cleaning: When to Call for Backup
While home dryer vent cleaning is often a manageable DIY task, there are specific situations where calling in the professionals is not just convenient, but highly recommended for safety and thoroughness.
| Feature | DIY Dryer Vent Cleaning | Professional Dryer Vent Cleaning “`


