Installing a new AC system is a big step in upgrading your home’s comfort, especially during the heat of summer in Villa Park. While it’s easy to focus on the equipment itself, preparing each room before installation has a direct impact on how well the system functions. When the setup goes smoothly from the start, you reduce the risk of future disruptions, delays, or placement issues that could affect comfort.
A room-by-room approach takes the guesswork out of how the AC will perform across your home. It gives you a better layout, fewer obstructions, and more efficient airflow. This kind of preparation also allows our professionals to work quickly and safely with minimal interruption to your day. Whether you’re replacing an older unit or upgrading to something more energy-efficient, a well-prepped home creates the right foundation for lasting performance.
Living Room Preparation for AC Installation
The living room is often one of the most used spaces in the home, and that makes it a key area when preparing for AC installation in Villa Park. This is also where many homeowners experience the most immediate difference in comfort after the new system is installed. To avoid any delays or issues, you’ll want to make sure this space is fully ready.
Here’s what to focus on:
– Clear open paths: Move furniture, décor, and any large items that might block access to the installation point. Our technicians need clear walkways to move tools and equipment safely.
– Create unit access: If your AC includes an indoor air handler or if ductwork connections are being added, it’s important to remove items that are near the target wall or ceiling areas. This helps avoid clumsy workarounds or accidental damage during setup.
– Check for ventilation: A new AC system should never be boxed into a corner without airflow circulation. If the living room has curtains blocking vents or furniture directly in front of cooling outlets, make those adjustments in advance.
– Protect fragile items: Take down anything that could fall or break when vibration tools or ladders are in use. Artwork, lamps, and electronics should be relocated temporarily to another room.
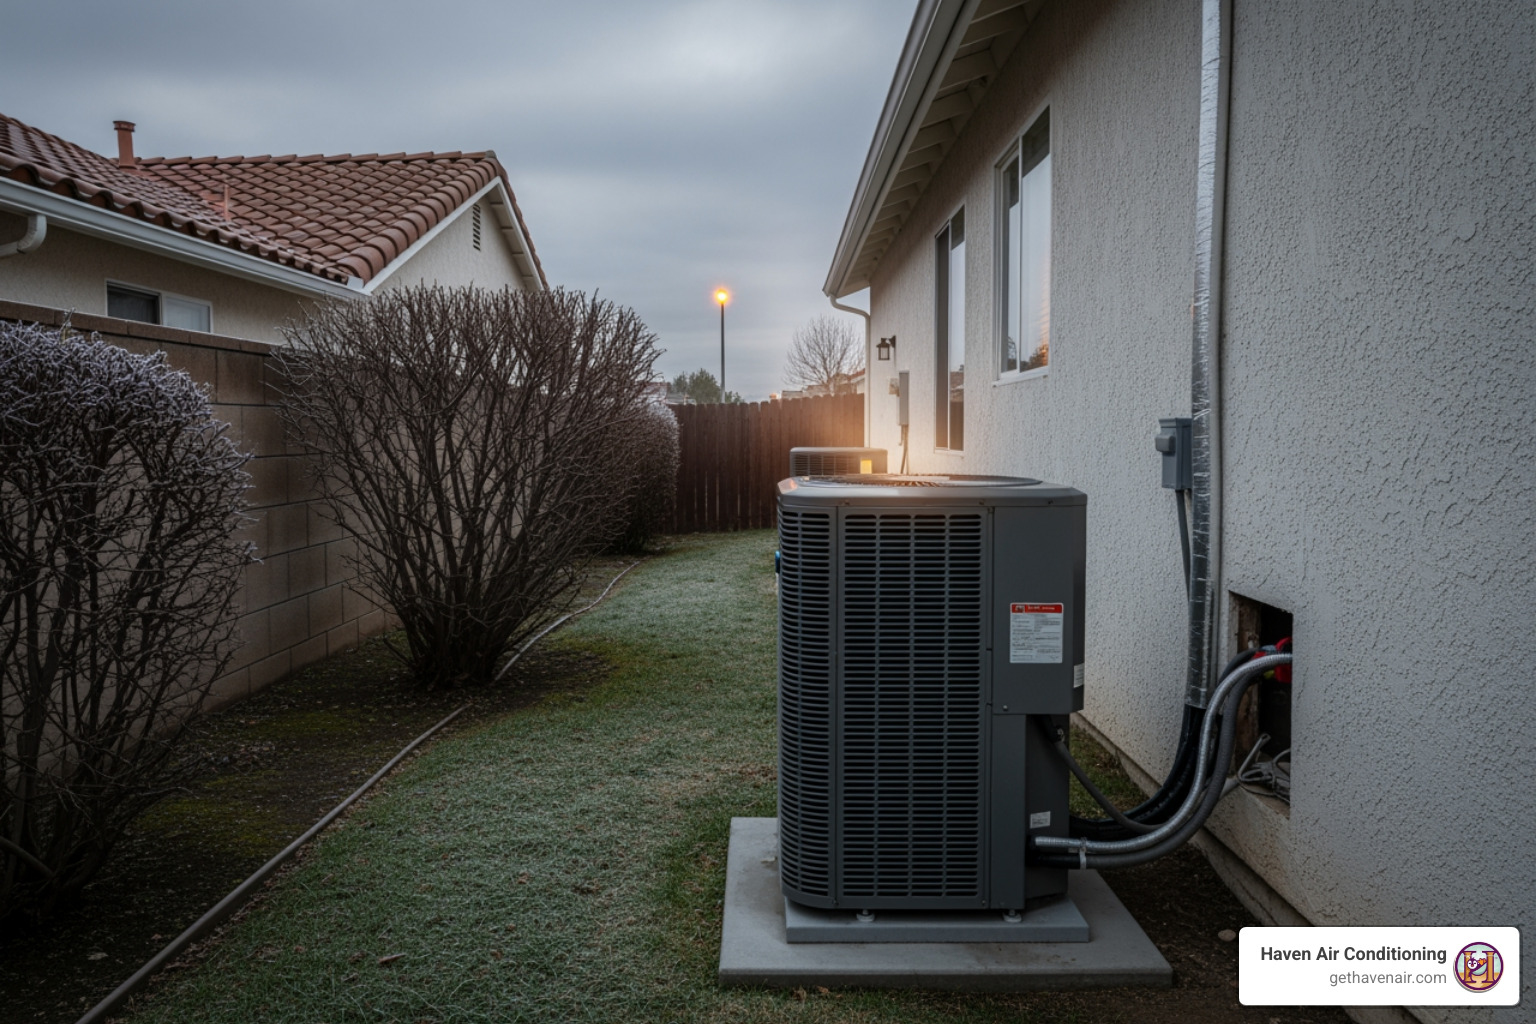
Keep in mind the outdoor unit, too. If your living room connects to a backyard or patio where the condenser will sit, clear that path so that our team has full access from both sides of the wall.
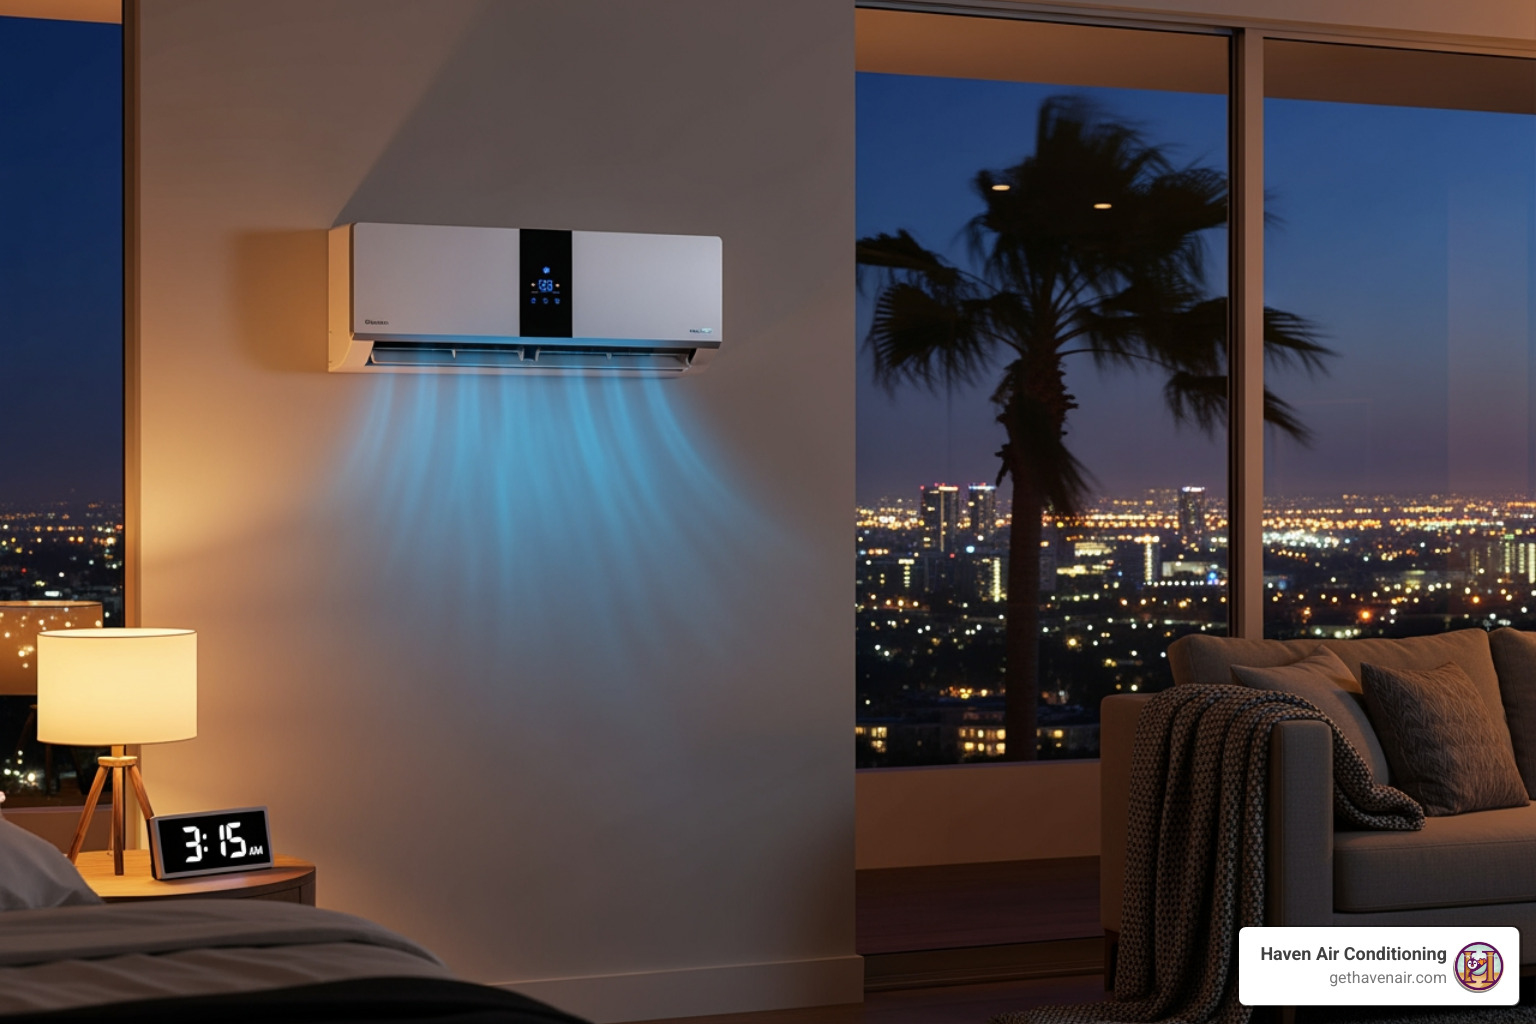
Bedroom AC Setup: Maximizing Comfort and Quiet
Bedrooms need a little extra attention, especially when considering airflow placement and noise levels. It’s not just about cooling the room. The position of the unit or vents can impact your sleep, noise sensitivity, and even how evenly temperatures are distributed at night.
Spacing is a good place to start. Beds, dressers, nightstands, and even headboards should be a comfortable distance from where the AC unit will go. Avoid placing large furniture directly under a ceiling vent or wall-mounted unit. It can block cool air from circulating or cause temperature imbalances where one part of the room feels cooler than the rest.
Noise can also be a problem if the equipment is installed too close to where you sleep. While modern systems are more quiet than older units, they still create some background sound. Our technicians will keep that in mind, but it’s helpful if the area is already open so the best location can be identified quickly.
Before the installation day:
– Remove plants, lamps, picture frames, or any items around windows or near vents.
– Make sure our technicians have clear access to any attic or ceiling entry points above the bedroom.
– Keep pets and children out of the area during and shortly after the install for safety.
If you’re planning additional décor changes, hold off until the AC system is finished and tested. That gives you some flexibility if adjustments need to be made mid-way.
Kitchen and Dining Area Prep for AC Installation
Many homeowners overlook the kitchen and dining room during AC installation prep. These spaces have unique challenges like heat from cooking appliances and narrow wall areas filled with cabinets or other fixed structures. If these rooms aren’t prepped, the result could be inefficient cooling or awkward placement that doesn’t serve the space well.
Gas stoves, ovens, and even dishwashers release heat and moisture. If the system’s indoor air handler or vents are placed near these appliances, it can interfere with the AC’s ability to keep the space cool. Your goal should be to clear around potential installation points so that our technicians can avoid problem spots and keep airflow smooth.
Here’s how to prepare these rooms effectively:
- Remove wall hangings, light fixtures, or easy-to-move storage bins near planned unit locations.
- Ensure there’s countertop space available if our technicians need a spot to place tools briefly or review layout plans.
- Move small appliances like coffee makers or toasters temporarily to another area so they’re not in the path of the installation team.
- Check that no storage items block reach to vents, especially near the ceiling or behind doors.
- If your kitchen has a vent hood or nearby exhaust fan, let our technicians know beforehand to confirm it won’t conflict.
Making these simple changes ahead of time can make the entire process go faster and give better long-term results. Over time, an AC system that’s badly placed in the kitchen area can struggle with uneven cooling or excess strain, especially during heavy cooking hours. Proper prep helps avoid that from the start.
Bathroom and Utility Room Preparation for AC Installation
Bathrooms and utility rooms often get skipped when homeowners think about preparing for AC installation in Villa Park. Even if these spaces don’t have major AC components installed directly within them, their location and condition can still affect how well your system runs, especially over time.
Start by checking for moisture. Bathrooms, laundry rooms, and utility spaces are naturally more humid than other parts of the house. Excess humidity can impact AC performance if these areas aren’t addressed ahead of time. Our technicians will verify that vents and other airflow pathways don’t cross or compete with existing exhaust fans or appliances. You can help by making sure fans are operational and the rooms are clean and dry before installation begins.
In utility areas, like a laundry or mechanical room, remove detergents, bins, or storage items that might be near ductwork, electric panels, or wall areas where the AC system may need access. If there’s a water heater or washer close by, move what you can to create a clear line of sight and avoid any tripping hazards during the install.
Keep these tips in mind:
– Clear out bathroom fixtures or shelving that hang near potential AC duct paths
– Ensure ceilings in these rooms are unobstructed if work is being done above
– Make sure any ventilation like bathroom fans is working properly beforehand
– Clean and clear floors to give a dry, safe spot for tools or step ladders
Think of these areas as part of the system’s support structure. When the airflow and humidity in bathrooms and laundry rooms are in balance, it reduces the strain on your AC and helps with overall efficiency. Ignoring these spaces may seem harmless, but they play a bigger role than most homeowners realize.
Enjoying Consistent Comfort After a New AC Installation
After your new AC system has been installed in every key space of your Villa Park home, you’ll start to feel the difference right away, but the real payoff comes over time when everything runs the way it should without hiccups. Prepping each area may have felt like a lot of small tasks, but together, these steps remove the friction points that could have slowed your AC down later.
Now that your living room, bedrooms, kitchen, and other parts of the house are properly set up, airflow becomes more consistent, the noise levels are better managed, and energy use is more efficient overall. You’ll also likely notice more steady temperatures from room to room, even on busier days where doors are opening frequently or the oven’s running at dinner time.
This kind of setup supports long-term reliability. One homeowner in Villa Park had frequent problems with their previous system overheating because it had been installed with blocked vents and poor spacing. After preparing the home thoroughly for the new installation, they noticed fewer interruptions and didn’t have to keep adjusting the thermostat just to stay comfortable. That’s the value of getting everything in order from the start.
Remember, even small improvements like moving a bookshelf or clearing out a closet can support airflow. Each adjustment helps your AC do less work to keep you cool. When combined, these efforts give you a more dependable system that performs well all summer long. You don’t have to deal with sudden breakdowns or uneven cooling, you just enjoy the comfort and peace of mind your home should offer.
If you’re ready to upgrade your home’s cooling performance, scheduling your AC installation in Villa Park with Haven Air Conditioning is the first step to ensuring every room is optimized for consistent comfort. Careful preparation makes a noticeable difference, leading to better airflow, energy savings, and long-term reliability. For a quick estimate or to book a service visit, please contact us today.


