(714) 332-6302

That Sudden Sound: Is Your Heat Pump Broken or Just Shifting Gears?
You are relaxing in your Anaheim home on a crisp early fall morning, but when your system kicks on, you hear a loud, sudden hiss—leaving you wondering if you need to understand the mechanics of a heat pump reversing valve: transitioning from cooling to heating, or if your unit is simply breaking down. Here at Haven Air Conditioning, our team fields calls about this exact scenario constantly during the September shoulder season, when homeowners find themselves alarmed by an audible “whoosh” or pressure equalization sound coming from their outdoor unit. The good news is that this unexpected noise usually points to a healthy, functioning system shifting gears. By understanding the physical process of how your equipment switches modes, you can confidently recognize normal operation versus an actual mechanical failure that requires our professional service.
If you want to dive deeper into how a heat pump heats and cools your home or need immediate help with heat pump reversing valve repair, our team is ready to assist.
The Heart of the System: Understanding the 4-Way Reversing Valve
To understand why your system behaves the way it does, you first have to look at the unsung hero of your HVAC setup: the 4-way reversing valve. When our technicians compare heat pumps vs traditional HVAC systems, this single component is the defining difference. Traditional air conditioners can only pump heat out of your house, leaving you reliant on a separate furnace to generate warmth in the winter. A heat pump, however, uses this specialized valve to reverse the flow of refrigerant, allowing the same equipment to capture ambient heat from the outside air and bring it indoors.
Acting as the Ultimate Traffic Director
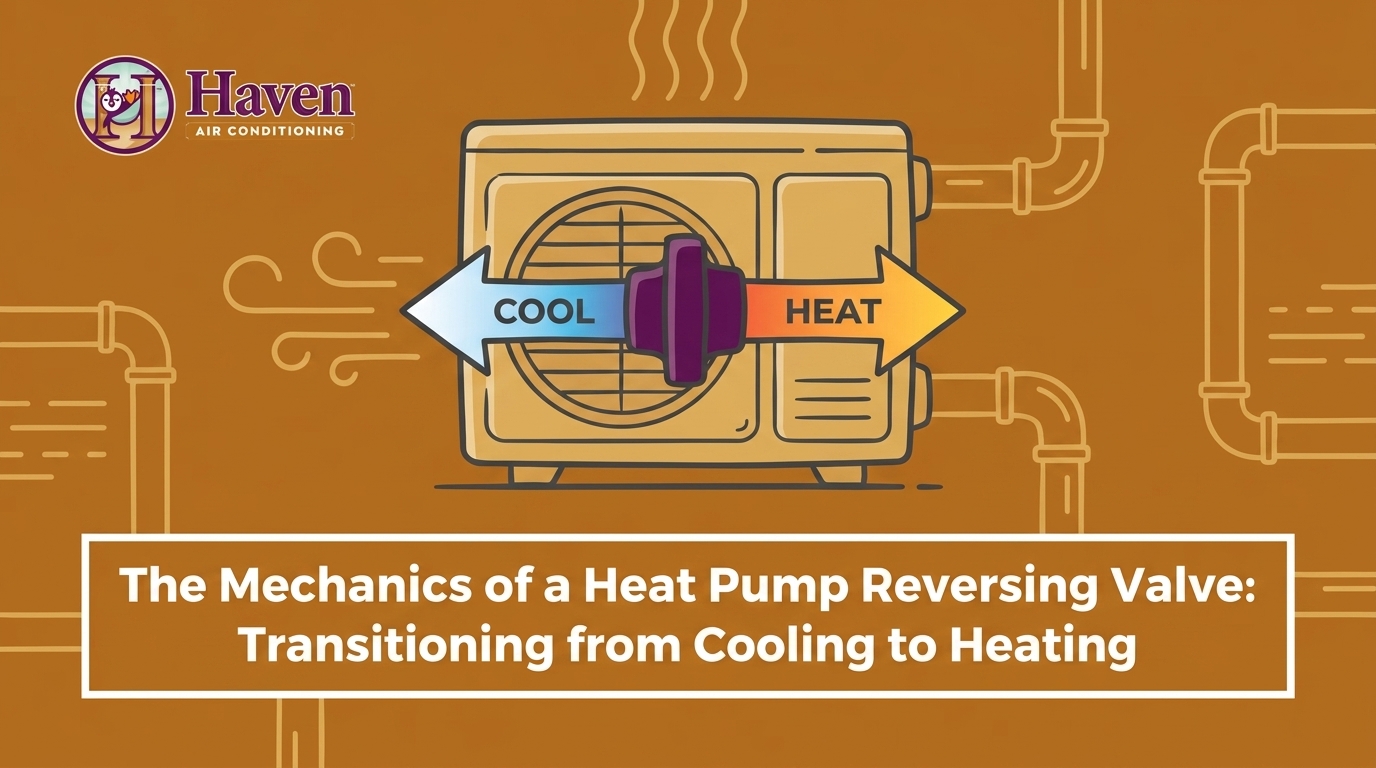
The 4-way reversing valve acts as a highly engineered traffic director for high-pressure hot refrigerant gas. As the name suggests, the valve features four distinct copper tubes connected to its main body. One tube connects directly to the discharge line of the compressor, receiving the intensely hot, highly pressurized refrigerant gas. The other three tubes connect to the suction side of the compressor, the indoor evaporator coil, and the outdoor condenser coil.
When you set your thermostat to cooling, the valve directs the hot gas from the compressor out to the outdoor coil, where the heat is released into the surrounding air. The cooled refrigerant then travels indoors to absorb heat from your living space. When you switch to heating mode, the valve physically shifts its internal mechanisms. It takes that same hot gas from the compressor and routes it directly to the indoor coil instead. Your indoor coil essentially becomes the condenser, radiating warmth into your ductwork to be distributed throughout your home, while the outdoor coil absorbs heat from the outside air.
The Efficiency of Moving Heat
This clever redirection of refrigerant flow is what makes these systems incredibly energy efficient. Because the system is moving existing heat rather than burning fossil fuels to generate new heat, it uses significantly less energy. However, this remarkable efficiency is entirely dependent on the reversing valve’s ability to smoothly and reliably shift the flow of refrigerant back and forth on demand.
The Physics Behind the ‘Whoosh’: Pressure Equalization Explained
The Problem: Many homeowners experience a moment of panic when their system transitions between modes. You might hear a startling, loud whooshing or hissing noise from the outdoor unit, accompanied by a brief delay in airflow from your indoor vents. If you have never owned this type of system before, this sensory experience can easily be mistaken for a blown pipe or a failing compressor.
The Cause: What you are actually hearing is the rapid equalization of refrigerant pressures. When the equipment is running, there is a massive difference in pressure between the high side (where the gas is compressed and hot) and the low side (where the gas is expanded and cool). When the reversing valve shifts, it suddenly opens a pathway that connects these two distinct pressure zones. The high-pressure refrigerant rushes violently into the low-pressure side of the system until the pressures balance out. This sudden rush of gas creates the audible “whoosh” or pressure equalization sound.
The Solution: Recognizing this sound as a normal, healthy part of the transition process is the key to peace of mind. The brief delay in airflow you notice is also completely intentional. Your system’s control board pauses the indoor blower fan for a short period during this shift. This prevents the system from blowing a draft of cold air into your home while the indoor coil warms up to the correct temperature for heating.
Normal Sounds vs. Problem Sounds
To help you differentiate between routine operation and potential issues, here is a breakdown of what our technicians typically listen for in the field:
| Sound Profile | Typical Cause | Action Required |
|---|---|---|
| Brief “whoosh” or hissing lasting 3-5 seconds | Normal pressure equalization during a mode shift | None. This is healthy system behavior. |
| Continuous hissing that never stops | Potential refrigerant leak in the lines or coils | Call a professional for leak detection. |
| Loud metallic clicking followed by the whoosh | The solenoid coil engaging the pilot valve | None. This is the normal mechanical sequence. |
| Grinding, squealing, or violent shuddering | Compressor distress or failing motor bearings | Turn off the system and schedule immediate repair. |
Why Early Fall Puts Your Reversing Valve to the Test
In our years of servicing HVAC systems across the region, we’ve noticed the September shoulder season is a uniquely demanding time for your home’s comfort system. While residents in extreme northern climates might switch their systems to heat in October and leave them there until May, coastal and inland transition zones experience a very different weather pattern. Anaheim’s specific September climate frequently features cool, damp mornings in the low 60s, followed by intense afternoon sunshine that pushes temperatures into the mid-80s.
The Impact of Diurnal Temperature Variations
These wide daily temperature swings are known as diurnal temperature variations. Because modern homes are well-insulated, they trap the cool night air. When you wake up, the house feels chilly, prompting your thermostat to call for heat. By 2:00 PM, the sun has been beating down on your roof for hours, and the indoor temperature rises uncomfortably, prompting the thermostat to switch back to cooling.
This means your reversing valve is actively shifting modes twice a day, every single day, for several weeks. This practical need for morning heating and afternoon cooling places a high level of cyclical stress on the valve’s internal components.
Comparing Seasonal Workloads
In a climate with only two distinct seasonal shifts a year, the reversing valve might only actuate a handful of times annually. In Southern California, it is one of the most frequently actuated components in the entire system during the fall. Every time it shifts, the internal mechanical slider must overcome immense pressure differentials to redirect the flow of refrigerant. This constant exercise keeps the valve moving, but it also means that any underlying wear and tear will rapidly reveal itself during these transition months. Ensuring the valve is clean, well-maintained, and receiving the correct electrical voltage is crucial for surviving the shoulder season without a breakdown.
Inside the Valve: Solenoid Coils and Mechanical Sliders
To truly appreciate the mechanics of a heat pump reversing valve, it helps to break down the exact sequence of events that occurs inside the brass casing when your thermostat calls for a mode change. The valve relies on a delicate interplay between an electrical signal and raw mechanical force.
The Step-by-Step Transition Process
- The Thermostat Signal: The process begins when your thermostat detects a temperature change and sends a 24-volt electrical signal down the wire to the outdoor unit.
- Energizing the Solenoid Coil: This electrical signal reaches the solenoid coil—a small, black, electromagnetic block attached to the outside of the reversing valve. When energized, the coil creates a strong magnetic field.
- The Pilot Valve Shifts: The reversing valve is actually two valves in one. The magnetic field from the solenoid pulls a tiny internal plunger inside a secondary “pilot valve.”
- Pressure Bleeds Across the Chamber: Shifting the pilot valve changes the pressure dynamics inside the main valve body. It bleeds high-pressure refrigerant to one side of the main chamber while venting the other side to the low-pressure suction line.
- The Mechanical Slider Moves: The massive pressure difference created by the pilot valve physically forces a heavy mechanical slider block across the main chamber. This slider is what actually redirects the main flow of hot gas to either the indoor or outdoor coil.
- The System Equalizes: Once the slider locks into its new position, the pressures rapidly equalize (creating the familiar whoosh sound), and the system begins heating or cooling your home.
Understanding Default Resting States (O vs. B Terminals)
An interesting quirk of reversing valves is their default resting state. Depending on the manufacturer, the valve is designed to default to either heating or cooling when the solenoid coil is unenergized. If your system uses an “O” terminal on the thermostat, the valve defaults to heating and must be energized to switch to cooling. If it uses a “B” terminal, it defaults to cooling and must be energized to heat. This means that if the electrical coil fails completely, your system will be permanently stuck in its default mode until repaired.

Diagnosing the Shift: Normal Behavior vs. A Stuck Valve
The Problem: Sometimes, the transition doesn’t happen as it should. You might set your thermostat to heat on a chilly morning, but feel nothing but cold air blowing from the vents. Alternatively, the system might refuse to switch back to cooling when the afternoon sun heats up the house. When this happens, the reversing valve is likely stuck.
The Cause: A stuck valve generally points to one of two distinct failures. The first is an electrical failure. If the thermostat wire is damaged, the control board is malfunctioning, or the solenoid coil itself has burned out, the valve will never receive the magnetic pull required to shift the pilot valve. The second possibility is a mechanical failure. Over time, internal debris, degraded compressor oil, or severe physical wear can cause the heavy mechanical slider to jam inside the brass casing, even if the electrical solenoid is working perfectly.
The Solution: Accurate diagnosis is absolutely crucial. Our team at Haven Air Conditioning frequently encounters stuck valves during early fall maintenance calls. Just recently, one of our technicians helped a local customer who experienced a failure to switch modes. Instead of condemning the entire unit, we expertly troubleshooted the system by testing the specific electrical signals and pressure differentials, isolating the exact component that had failed. This first-hand approach to accurately diagnosing specific components like reversing valves frequently saves our homeowners from unnecessary full-system replacements.
The Danger of Misdiagnosis
Because a stuck valve prevents the system from conditioning the air properly, an inexperienced technician might mistakenly condemn the entire compressor or suggest replacing the whole outdoor unit. By testing the voltage at the coil, checking the magnetic field, and measuring the temperature differential across the four copper tubes, a skilled professional can determine exactly where the failure lies. If you suspect your valve is jammed, relying on expert heat pump repair ensures you only fix what is actually broken.
Protecting Your Heat Pump Through the Shoulder Season
Preparing your Anaheim, CA home for the transition months means taking proactive steps to reduce unnecessary wear and tear on your equipment. While the reversing valve is built to withstand immense pressure, you can extend its lifespan by supporting the overall health of the system. Here is what our experts recommend for your fall maintenance checklist:
Your Fall Maintenance Checklist
- Optimize your thermostat settings: Avoid bumping the temperature up and down drastically throughout the day. Rapid, extreme temperature adjustments can cause the system to short-cycle, forcing the reversing valve to actuate far more often than necessary. Set a comfortable baseline and let the system maintain it.
- Schedule a pre-season professional check-up: Whether you have an older unit or recently invested in a heat pump installation in Santa Ana, seasonal check-ups are vital. A technician will verify that the solenoid coil is drawing the correct voltage and that the mechanical slider is functioning smoothly before the heavy heating season begins. Keep in mind that upgrading to high-efficiency heat pumps may qualify you for generic federal tax credits or utility incentives—our team can help point you in the right direction to verify current programs.
- Maintain clean air filters: Proper airflow is essential for supporting the system during frequent mode transitions. A clogged filter forces the blower motor to work harder and alters the refrigerant pressures inside the indoor coil, which can negatively impact how smoothly the reversing valve operates.
- Keep the outdoor unit clear: Fall brings falling leaves, twigs, and debris. Ensure there is at least two feet of clear space around your outdoor unit so it can properly exhaust or absorb heat during the mode-switching process.
Mastering Your Heat Pump’s Transitions for a Comfortable Fall
Navigating the rapid weather changes of the September shoulder season in Anaheim, CA, doesn’t have to be stressful. By understanding that the sudden pressure sounds and brief airflow delays are simply signs of a healthy, functioning system, you can avoid seasonal panic. Mastering your system’s behavior means recognizing the difference between routine mode switching and actual mechanical distress.
Our goal at Haven Air Conditioning is to provide a clear, jargon-free explanation of the mechanics of a heat pump reversing valve: transitioning from cooling to heating that demystifies the mode-switching process and reassures you about normal system behaviors. If your system ever fails to switch modes, or if you need precise professional diagnostics, reach out to our team to ensure your home stays comfortable all season long.
Frequently Asked Questions
How does a heat pump switch from cooling to heating?
A heat pump switches modes using a 4-way reversing valve located in the outdoor unit. When you adjust your thermostat, an electrical signal energizes a solenoid coil on the valve. This shifts an internal mechanical slider, redirecting the flow of hot, high-pressure refrigerant gas from the outdoor coil to the indoor coil to provide heat.
Why does my heat pump make a whooshing sound?
The whooshing sound is the rapid equalization of refrigerant pressures inside the system. When the reversing valve shifts between heating and cooling modes, high-pressure gas rushes into the low-pressure side of the system. This sudden movement of gas creates an audible whoosh or hiss, which is a completely normal sign of a healthy mode transition.
How do I know if my reversing valve is stuck?
The most obvious sign of a stuck valve is a system that blows cold air when set to heat, or warm air when set to cool. You may also notice that the familiar whooshing sound during mode transitions is completely absent. A professional technician can confirm a stuck valve by measuring the temperature differences across the valve’s copper tubes.
Does the reversing valve default to heating or cooling?
The default resting state depends entirely on the manufacturer of your specific equipment. Systems wired to an “O” terminal on the thermostat default to heating when unenergized, while systems wired to a “B” terminal default to cooling. If the electrical solenoid coil fails, the system will remain locked in its default mode.
Can a bad reversing valve be repaired without replacing the whole heat pump?
Yes, a bad reversing valve can often be addressed without a full system replacement. If the issue is an electrical failure, the solenoid coil can usually be replaced easily and affordably. If the internal mechanical slider is permanently jammed, a licensed technician can safely recover the refrigerant, cut out the old valve, and braze a new one into place.